Look inside any control panel, car, boat, or solar system and you will see one thing in common: a lot of wires. Every one of those wires needs a safe, solid connection. That is exactly where wire crimping pliers make a huge difference.
For installers and technicians, the right crimping tool means fewer failures and faster jobs. For buyers and tool brands, it means fewer complaints, fewer returns, and happier customers who trust your products. When a small crimp fails, it can stop an entire machine or vehicle, so choosing the right wire crimping pliers is not a small decision at all.
In this guide, you will learn what wire crimping pliers do, which types are available, how to choose the best model, and how to use them step by step. The language is simple, so you can share this article directly with electricians, technicians, and even end users who are just starting with crimping work.
What Are Wire Crimping Pliers?
Wire crimping pliers are hand tools used to connect a wire to a terminal or connector by squeezing the metal until it firmly grips the copper strands. Instead of using solder, the tool applies pressure through a shaped jaw (the “die”) to form a strong mechanical and electrical connection.
A good crimp should:
Hold the wire so it does not pull out.
Keep electrical resistance low.
Survive vibration, heat, and moisture over time.
Most electrical wire crimping pliers have:
Marked crimping ranges for wire sizes (AWG or mm²).
Different die shapes for insulated and non‑insulated terminals.
Comfortable, non‑slip handles for daily use.
For many users, handheld crimping pliers are the first real “professional” tool they buy for wiring jobs, and a positive experience with a good crimper often builds long‑term trust in the brand.
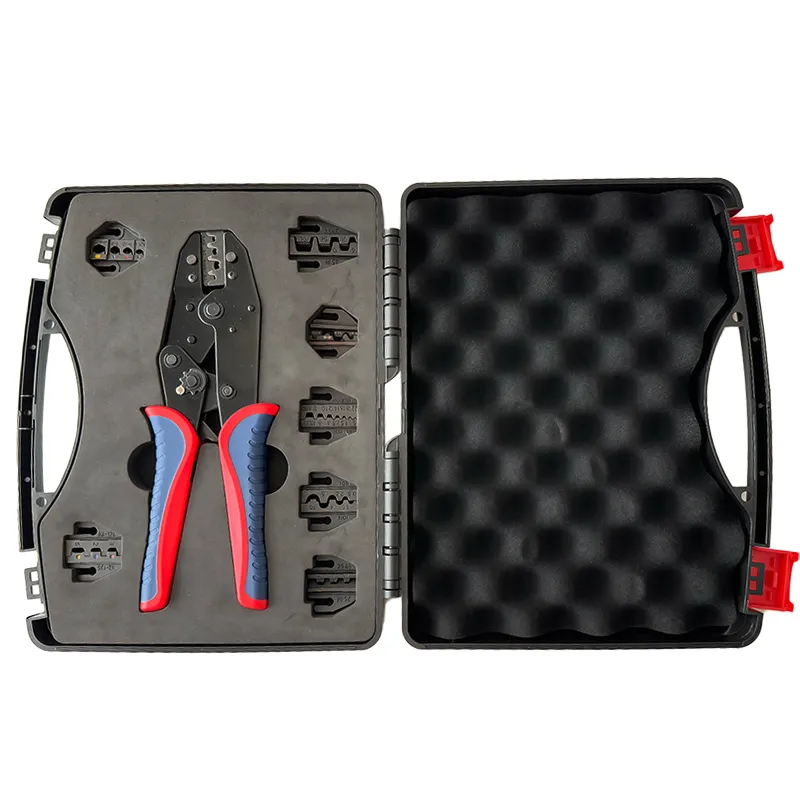
Main Types of Wire Crimping Pliers
There are many models of crimping tools on the market, but most of them fall into a few simple categories. Understanding these makes it much easier to choose the right tool and explain it to customers.
Manual Wire Crimping Pliers
These are the classic, basic tools: two handles, a hinge, and crimping jaws with different notches.
Best for: DIY users, small workshops, occasional repairs.
Key benefit: Low cost and simple to understand.
Manual wire crimping pliers are perfect as an entry‑level option. They cover common tasks like crimping insulated ring and spade terminals on light cables and household wiring.
Ratchet Wire Crimping Pliers
Ratchet wire crimping pliers look similar at first, but they have a built‑in ratchet mechanism. When you squeeze the handles, the ratchet locks and only releases once the crimp is fully completed.
Best for: Professional electricians, panel builders, automotive technicians.
Key benefit: Consistent crimping force and less hand fatigue.
Because the ratchet controls the pressure, ratchet wire crimping pliers help reduce “half‑crimps” and user error. That is why they are often considered the professional standard for daily work.
Automatic and Self‑Adjusting Wire Crimping Pliers
Automatic wire crimping pliers and self‑adjusting crimpers are designed for speed and convenience. Within a certain range, the tool can adapt to different wire sizes without constant manual adjustment.
Best for: On‑site installers, fast projects, mixed wire sizes.
Key benefit: Quick operation and fewer setup mistakes.
These tools are popular with teams that handle many different cable sizes and want to keep their toolbox as light and efficient as possible.
Wire Stripping and Crimping Pliers
Some tools combine several functions into one body, often called wire stripping and crimping pliers or multi‑function crimpers.
Best for: Mobile technicians, maintenance teams, electricians working in tight spaces.
Key benefit: Strip, cut, and crimp with one compact tool.
For people who spend their day on ladders, roofs, or inside vehicles, carrying one multi‑function tool instead of three or four separate tools is a big advantage.
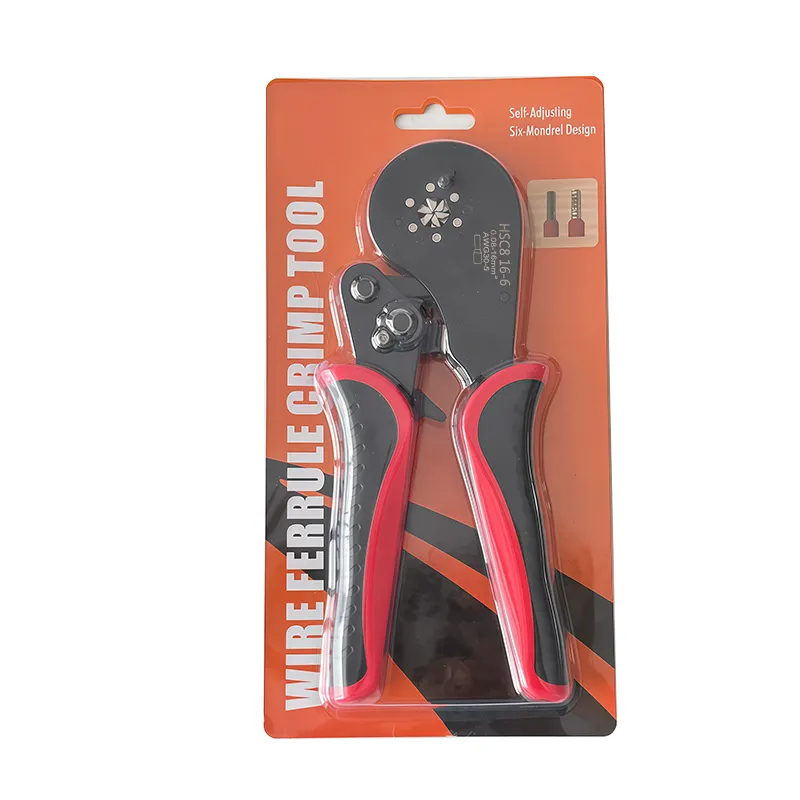
Ferrule Crimping Tools
In control cabinets and industrial automation, many wires are fine‑stranded and are terminated with ferrules. Ferrule crimping tools are designed to crimp these small metal sleeves onto the wire ends.
Best for: Panel builders, machine builders, control cabinet wiring.
Key benefit: Clean, professional wiring and secure connections in terminal blocks.
Ferrule crimping tools usually create a square or hexagonal crimp profile that fits perfectly into terminal clamps and improves both safety and appearance.
Simple Comparison of Tool Types
Here is a quick overview you can also use inside your product descriptions:
Tool Type
Typical User
Main Use
Key Benefit
Manual wire crimping pliers
DIY, small workshops
General light crimping tasks
Low cost and easy to use
Ratchet wire crimping pliers
Electricians, installers
Daily professional wiring work
Consistent, high‑quality crimps
Automatic wire crimping pliers
Fast‑paced installers
Mixed wire sizes, speed‑focused jobs
Self‑adjusting and time‑saving
Wire stripping and crimping pliers
Mobile technicians
Field work and compact toolkits
Multiple functions in one tool
Ferrule crimping tools
Panel builders, OEMs
Ferrule terminations in control panels
Clean, reliable cabinet wiring
How to Choose and Use the Right Crimping Tool
1. Check Wire Size and Range
Every pair of wire crimping pliers has a recommended wire range, for example:
0.5–6 mm²
AWG 22–10
The easiest way to guide users is to say which applications this range suits, such as “perfect for home electrical projects and small machinery” or “designed for automotive cables and boat wiring.”
2. Match the Connector Type
Crimping tools are often optimized for specific connector families:
Insulated terminals (red / blue / yellow).
Non‑insulated terminals and cable lugs.
Open‑barrel automotive terminals.
Bootlace ferrules.
In your own content, use simple phrases like “ideal for insulated ring and spade terminals” or “made for ferrules in control cabinets” so users can quickly see if the tool matches their job.
3. Consider How Often It Will Be Used
A user who crimps one or two connections per week has different needs from a technician who crimps hundreds per day.
Occasional use → manual wire crimping pliers are usually enough.
Regular daily use → ratchet wire crimping pliers give better consistency.
High‑speed, mixed wiring → automatic or self‑adjusting wire crimping pliers save time.
You can also add a short suggestion like: “Tell us your main wire sizes and applications, and we will recommend the right wire crimping pliers for you.”
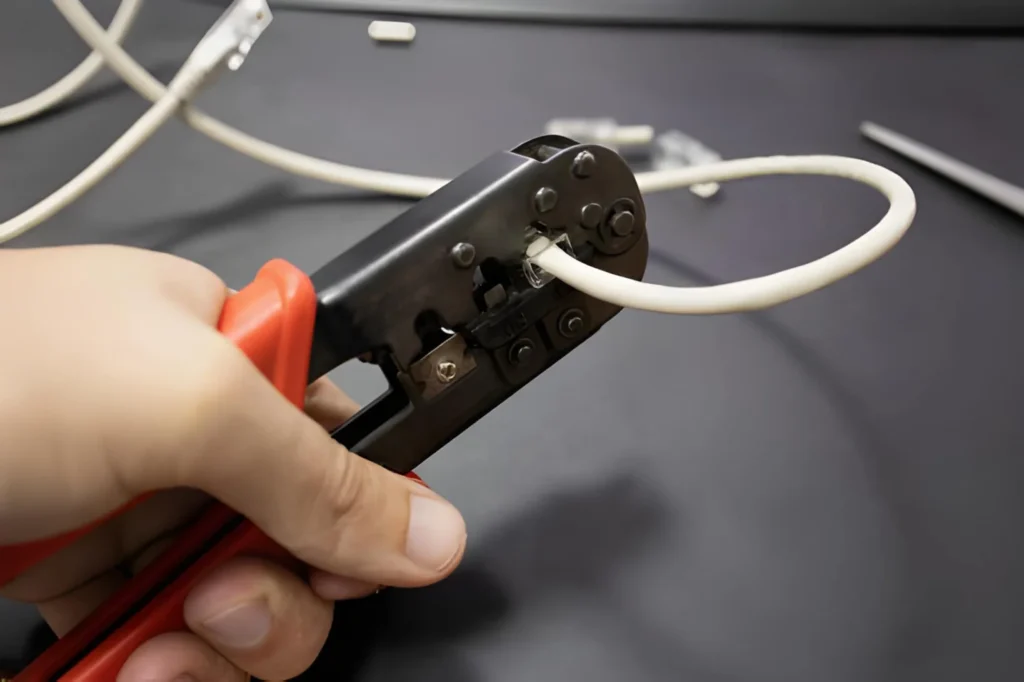
How to Use Wire Crimping Pliers: Step‑by‑Step
Many users want a simple, clear guide on how to crimp correctly. This section can also be turned into a separate “How‑to” post or infographic.
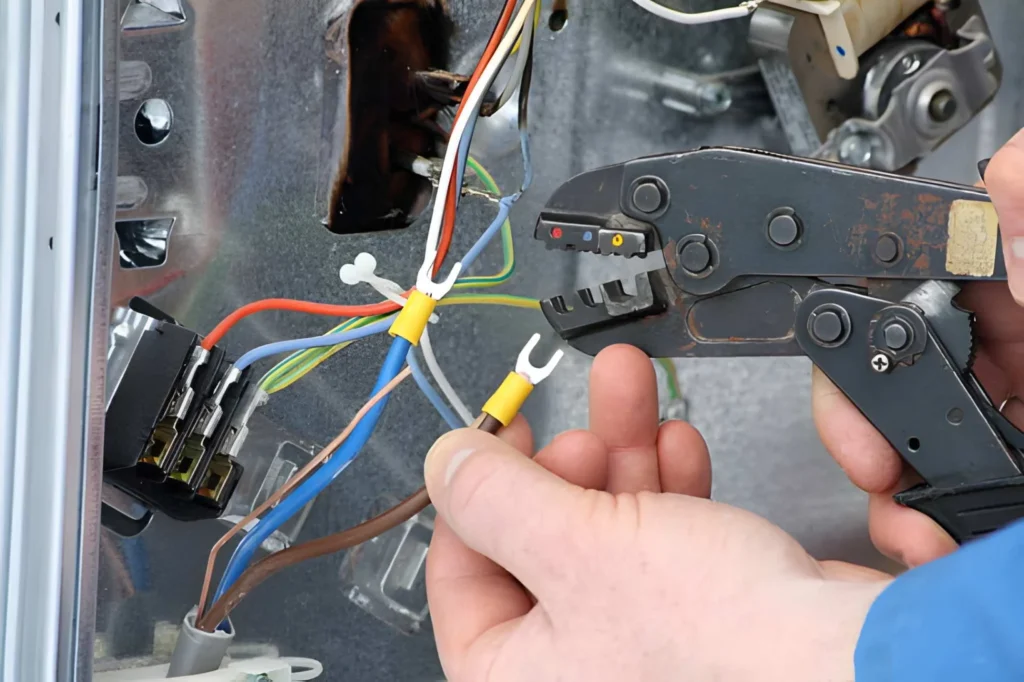
Strip the wire Use a dedicated wire stripper or a pair of wire stripping and crimping pliers. Strip just enough insulation so the bare copper matches the metal barrel length of the terminal.
Check the copper strands Make sure the strands are clean and not cut or damaged. Do not remove too many strands; they are needed for a strong crimp.
Insert the wire into the terminal Push the copper fully into the barrel until the insulation reaches the edge. No bare copper should be left outside unless the terminal design demands it.
Place the terminal into the die Open your wire crimping pliers, choose the correct notch by size or color, and position the terminal in the jaws. With ratchet wire crimping pliers, you can lightly close the handles to hold it.
Crimp firmly Squeeze the handles all the way until the jaws are fully closed. On ratchet crimpers, keep squeezing until the ratchet releases. Do not stop halfway.
Inspect and pull‑test Check the shape of the crimp. Then give the wire a strong pull. If it does not move or slip out, the crimp is good. If it moves, cut it off and try again with the correct die size.
Following these basic steps helps users get stable, professional‑looking connections with almost any good crimping tool.
Common Crimping Mistakes and How to Avoid Them
Even with high‑quality wire crimping pliers, mistakes still happen. Here are a few common ones you can highlight to educate users and reduce support questions.
Using the wrong die size If the die is too large, the crimp will be loose. If it is too small, the connector and wire may be damaged. Always match the wire gauge and terminal size to the markings on the tool.
Crimping only the insulation The crimp must grip the copper conductor, not just the insulation. Many terminals have separate sections for the copper and for insulation support, so choose the right part of the die.
Using general pliers instead of crimpers Standard pliers can squeeze a connector, but they do not form the correct shape or apply the right pressure. This can lead to poor electrical contact, heating, and early failure.
Skipping the pull test A simple pull with your fingers is one of the fastest quality checks. If the wire slips or moves, the connection is not safe.
Conclusion
Wire connections may be small, but they decide whether a project is safe, efficient, and long‑lasting. The right wire crimping pliers help technicians make strong, clean connections that stand up to real‑world conditions. For users, that means less rework and fewer breakdowns; for brands and buyers, it means better reputation and lower after‑sales costs.
By understanding the main types—from manual and ratchet wire crimping pliers to automatic crimpers, wire stripping and crimping pliers, and ferrule crimping tools—you can choose the tool that truly fits your work. Add clear explanations and simple guides like the ones in this article, and your customers will find it much easier to select and use the right crimping tool.
If you are planning your own product line or looking for a reliable supplier of wire crimping pliers, invite your readers to reach out: a short line such as “Send us your wire sizes, applications, and target budget to get a tailored recommendation” can turn curiosity into real inquiries.
FAQ
Are wire crimping pliers hard to use?
No. Once you understand the basic steps—strip, insert, crimp, and test—using wire crimping pliers becomes very straightforward. Ratchet models make it even easier by controlling the pressure for you.
Can I just use ordinary pliers instead of wire crimping pliers?
It is not recommended. Ordinary pliers do not create the correct crimp shape or pressure, which often leads to loose connections and electrical problems later. Proper wire crimping pliers are designed specifically for safe, reliable crimps.
What is the advantage of ratchet wire crimping pliers?
Ratchet wire crimping pliers only release when the crimp is fully completed. This helps you get uniform crimps, even at the end of a long day, and reduces the chance of weak or incomplete connections.
When should I choose automatic wire crimping pliers?
Choose automatic or self‑adjusting wire crimping pliers if you often work with different wire sizes and need to work quickly. These tools reduce setup time and make it easier for less experienced users to get good results.
What are ferrule crimping tools used for?
Ferrule crimping tools are used to crimp small metal sleeves, called ferrules, onto the ends of fine‑stranded wires. This is very common in control cabinets and industrial machines, where clean, reliable terminal connections are important.
Which model of wire crimping pliers should I buy first?
If you are a DIY user or just starting out, a good manual wire crimping pliers is enough for many simple tasks. If you are a professional electrician, technician, or workshop owner, a quality ratchet wire crimping pliers is usually the best first choice.
Professional Grade Crimps for Secure Electrical Connections When it comes to reliable electrical connections, the JiaPaiMi electrical connector crimping tool delivers professional grade crimps that ensure long-lasting performance. Designed for both technicians and DIY users, this crimper creates gas-tight crimps that prevent corrosion and maintain electrical integrity over time. The JiaPaiMi Difference Feature Benefit Gas-tight […]
Have you ever wondered why some wire connections feel rock-solid while others fail at the worst possible moment?In many DIY electronics projects, RC builds, or small manufacturing setups, the answer often comes down to one humble tool: the dupont crimper. It may look simple, but this tool plays a big role in creating clean, secure, […]
A Hand Crimper Tool is an essential manual device used to securely attach connectors, terminals, or fittings onto wires and cables by compressing them together. This creates reliable electrical and mechanical connections necessary in a wide array of industries. Thanks to its portability, precision, and ease of use, the hand crimper remains a top choice for professionals […]
We use cookies to enhance your browsing experience, serve personalised ads or content, and analyse our traffic. By clicking "Accept All", you consent to our use of cookies.