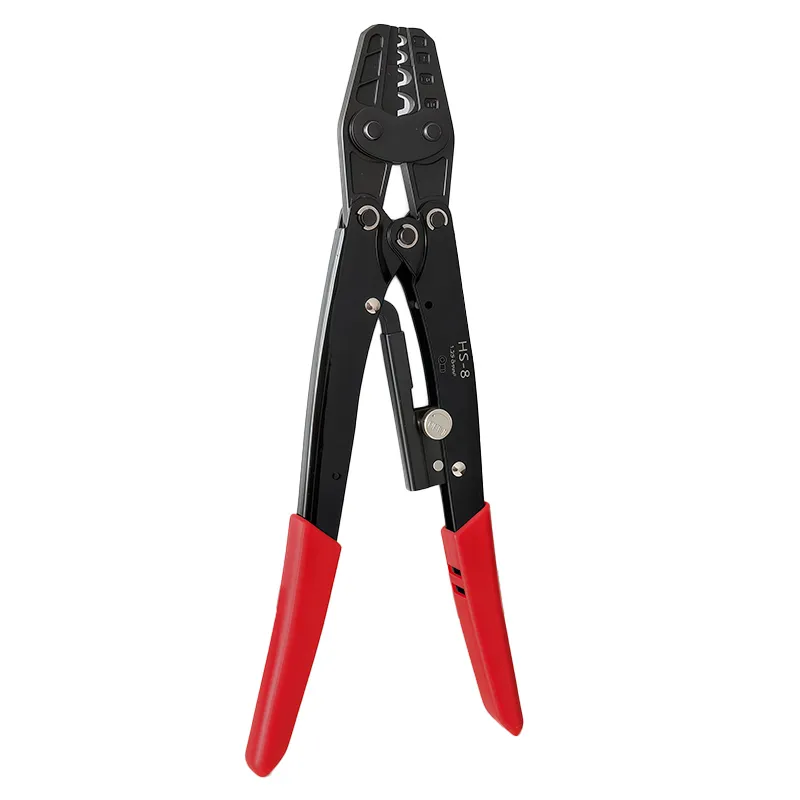
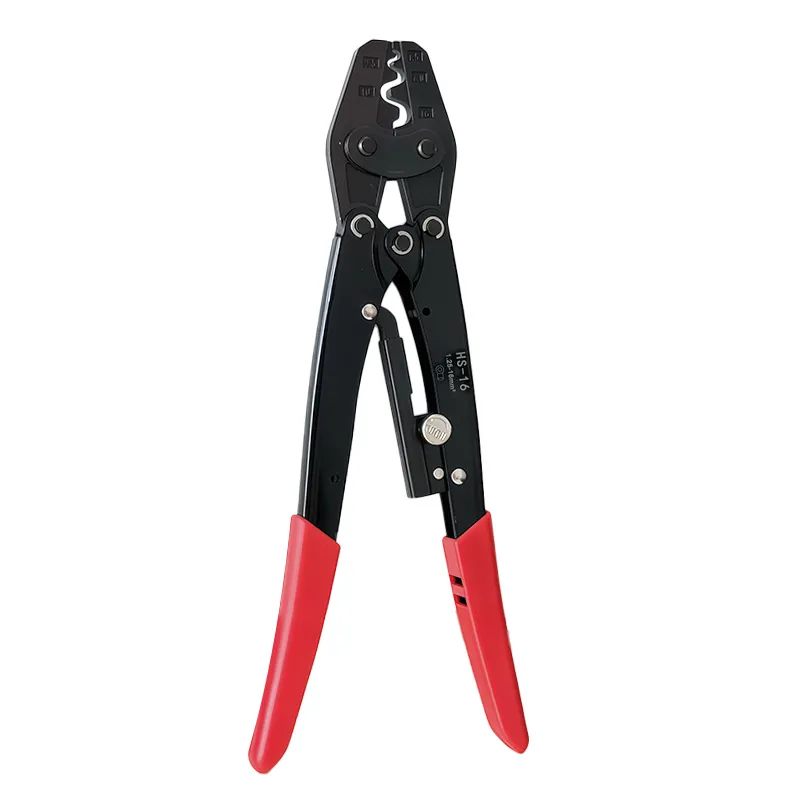
Blog
Best Ferrule Crimping Tools 2026 Guide for Reliable Wire Connections
Discover top ferrule crimping tools with ergonomic ratchet design wide AWG range durable steel dies for precise secure wire connections.
Read More
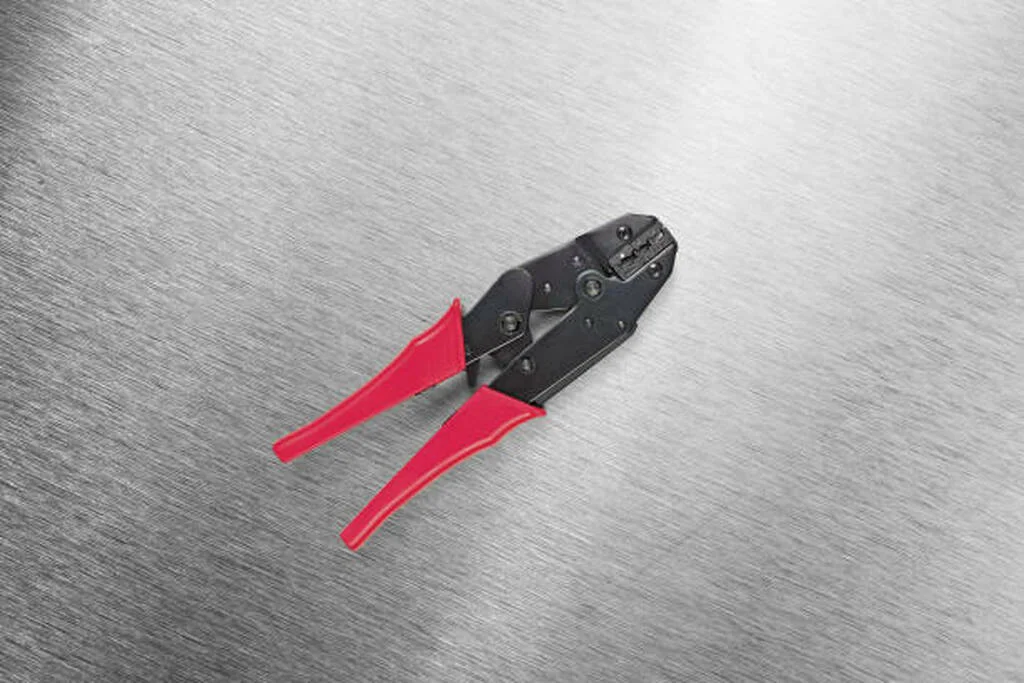
Non-insulated terminals are basic electrical connectors without built-in insulation. Common types include ring, spade, butt, fork, open-barrel, and flag terminals. Each serves a unique purpose: ring and spade terminals offer secure connections on screws or studs, butt terminals join two wires end-to-end, fork terminals allow quick screw connection, open-barrel terminals (often seen in OEM wiring like Molex or Deutsch) wrap around the wire for a gas-tight crimp, and flag terminals provide space-saving right-angle connections.
The key difference between non-insulated vs. insulated terminals is straightforward: insulated terminals have a protective sleeve to prevent electrical shorts, while non-insulated rely solely on the metal connection. This makes non-insulated terminals ideal for tight spaces, high-vibration environments, or when you want to add custom insulation like heat shrink tubing later.
Using the right crimper for non-insulated terminals is crucial. Unlike insulated terminals that typically use oval crimps to compress both wire and sleeve, non-insulated terminals need indentor dies that mechanically lock the bare wire inside the metal barrel. This mechanical lock prevents wires from slipping, ensuring a strong, gas-tight connection critical for durability and safety. That’s why dedicated crimpers for non-insulated terminals—often called indentor die crimpers—are essential tools for lasting, professional results.
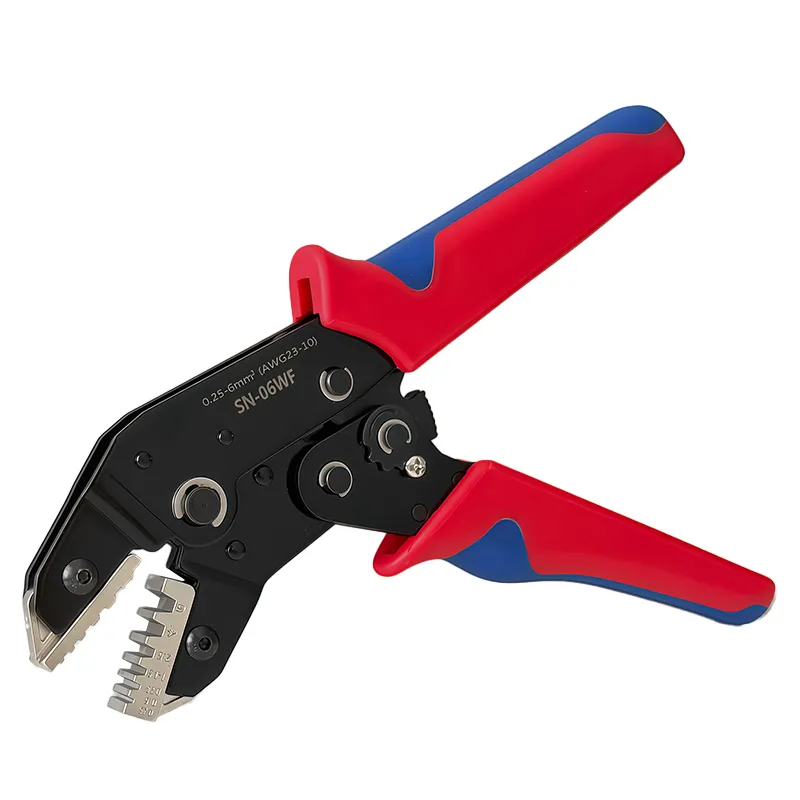
When it comes to non-insulated terminal crimpers, there are a few main types you’ll want to know about, especially depending on the terminals and wiring you work with.
Ratcheting crimpers for non-insulated terminals are popular because they apply consistent pressure, making every crimp solid and reliable. The ratchet locks in place until the crimp is complete, preventing under-crimping. Non-ratcheting models are simpler and lighter but require more skill and attention to pressure, which can risk weak or inconsistent crimps.
Open-barrel crimpers are designed specifically for OEM-style connectors such as Molex, Deutsch, and AMP/Tyco terminals. These crimpers fold the terminal wings around the wire to create a gas-tight, mechanically strong crimp. They are ideal for automotive and industrial wiring where secure, vibration-resistant connections matter. Typical die configurations match the terminal sizes exactly for perfect crimps.
For traditional non-insulated terminals like ring, spade, butt, fork, open-barrel, and flag types, standard closed-barrel crimpers are the go-to tool. These crimpers use indentor dies, which create a mechanical lock by compressing the terminal barrel onto the bare wire. They work well across a broad AWG range, usually from 22 to 10 AWG or even larger.
Most non-insulated terminal crimpers come with interchangeable dies or are calibrated for a specific wire gauge range. Common working ranges include 22-10 AWG and 22-6 AWG, covering most automotive, marine, and DIY electrical projects. Choosing the right die size is critical to avoid damaging the wire or terminal during crimping.
If you’re looking for a reliable option, check out high-quality ratchet crimpers like the JiaPaiMi non-insulated crimping tools, designed to handle various terminal types and wire sizes with ease.
When picking a non insulated terminal crimper, certain features make all the difference in getting a reliable, tight crimp every time. Here’s what to focus on:
| Feature | Why It Matters | What to Look For |
|---|---|---|
| Ratchet Mechanism | Ensures consistent pressure, avoids over- or under-crimping | Smooth, full-cycle ratchet that releases only after complete crimp |
| Ergonomic Handles | Reduces hand fatigue during repetitive use | Comfortable grip made from non-slip material |
| Durability | Tool lifespan and dependable performance | High-carbon steel or forged materials |
| Precise Jaws & Calibration | Accurate crimps for gas-tight, secure connections | Well-machined jaws and factory calibration |
| AWG Compatibility | Matches common wire sizes, from small to thick gauges | Typically covers AWG 22-10 or wider ranges like 22-6 |
| Quick Release | Lets you stop or adjust crimp mid-cycle easily | Handy for corrections or tool swapping |
| Compound Leverage | Reduces effort needed for firm crimps | Multi-link linkage design for greater mechanical advantage |
For example, a quality ratcheting crimper non-insulated terminals tool often offers precise jaw fit and covers a wide AWG range (0.5-10mm²), making it perfect for automotive or general electrical work.
Choosing a crimper with these features ensures your crimps hold strong, avoiding electrical failures caused by poor connections. Ergonomics and ratcheting save time and effort, especially if you’re handling multiple terminals regularly.
Choosing the right non insulated terminal crimper depends on your budget, experience, and project needs. Here’s a simple breakdown across budget ranges, including standout JiaPaiMi models known for quality and user satisfaction.
| Model Type | Brand / Model | AWG Range | Price Range | Best For | Key Features |
|---|---|---|---|---|---|
| Budget-Friendly | JiaPaiMi Basic | 22-10 | $15-$30 | DIY, light automotive | Durable handles, simple ratchet, affordable |
| Mid-Range Professional | JiaPaiMi HS-125 | 22-6 | $40-$70 | Frequent use, marine, solar | Ratchet mechanism, precise jaws, ergonomic grip Insulated & Non-Insulated Crimping Tools |
| Premium Ratcheting | JiaPaiMi HS-30J | 22-10 | $70-$100 | Heavy-duty, electricians | Compound leverage, quick release, calibrated dies JiaPaiMi Ratchet Crimping Tool |
If you want reliable results without breaking the bank, JiaPaiMi’s range offers excellent value for different levels of users. Whether you need a gas-tight crimp non-insulated tool or something for everyday basic use, their lineup covers most needs.
For an in-depth guide on using these tools properly, check this detailed step-by-step guide with JiaPaiMi tools.
Crimping non-insulated terminals requires the right tools and technique to ensure a secure, gas-tight connection. Here’s a simple step-by-step guide to get it right every time:
Following these steps ensures a professional, durable crimp on your non-insulated terminals every time.
Crimping non-insulated terminals might seem straightforward, but several common mistakes can weaken your connections or cause failures. Here’s what to watch out for and how to avoid these pitfalls:
By avoiding these mistakes and using a proper crimping tool — whether an indentor die crimper or standard closed-barrel crimper — you get a strong, durable connection every time. For more details on proper crimping techniques and tool choices, check out this comprehensive crimping tools guide.
Choosing between non-insulated and insulated terminals depends largely on your project’s environment and needs. Here’s a quick rundown to help you decide:
| Situation | Best Choice | Why |
|---|---|---|
| High-vibration environments | Non-insulated terminals | Stronger mechanical lock, less chance of failure |
| Marine or outdoor wiring | Non-insulated terminals | Resist moisture by adding insulation after crimping |
| Custom or OEM wiring projects | Non-insulated terminals | More control over crimp quality and fit |
| General household wiring | Insulated terminals | Built-in protection and easier handling |
| Quick or temporary fixes | Insulated terminals | Faster install with pre-insulated terminals |
Non-insulated terminals are preferred in tough environments like automotive, marine, or heavy machinery wiring. They provide a solid mechanical connection, especially with a good indentor die crimper designed for non-insulated terminals. Because they lack factory insulation, you can apply heat shrink tubing afterward to add protection—this allows for a tighter, customized insulation fit.
A common practice with non-insulated terminals is to finish the job using heat shrink tubing. Here’s the best way:
This method offers flexibility and can even improve resistance to corrosion, especially in marine or outdoor uses.
For professional results, pairing the right non-insulated crimper with quality heat shrink tubing is key. If you want guidance on picking the right wire and crimping tools for your setup, visit this detailed guide on choosing the right wire crimping tools.
In , go with non-insulated terminals when you need a tough, tailored connection that can handle vibration or harsh conditions, and add insulation yourself. Insulated terminals fit better for quick, less demanding tasks where convenience and basic protection matter most.
Keeping your non-insulated terminal crimper in top shape ensures reliable crimps every time. After use, clean the jaws and dies with a dry cloth to remove any debris, dirt, or metal shavings. Avoid using water or harsh chemicals as they can cause rust or damage. Store your crimper in a dry, cool place away from moisture to prevent corrosion and maintain its precision.
When working with electrical connections, always prioritize safety:
By following these simple maintenance and safety habits, you extend the life of your crimping tool and keep your electrical connections safe and durable. For more on selecting the right tool, check out our detailed crimper tool guide to boost your wiring projects with confidence.
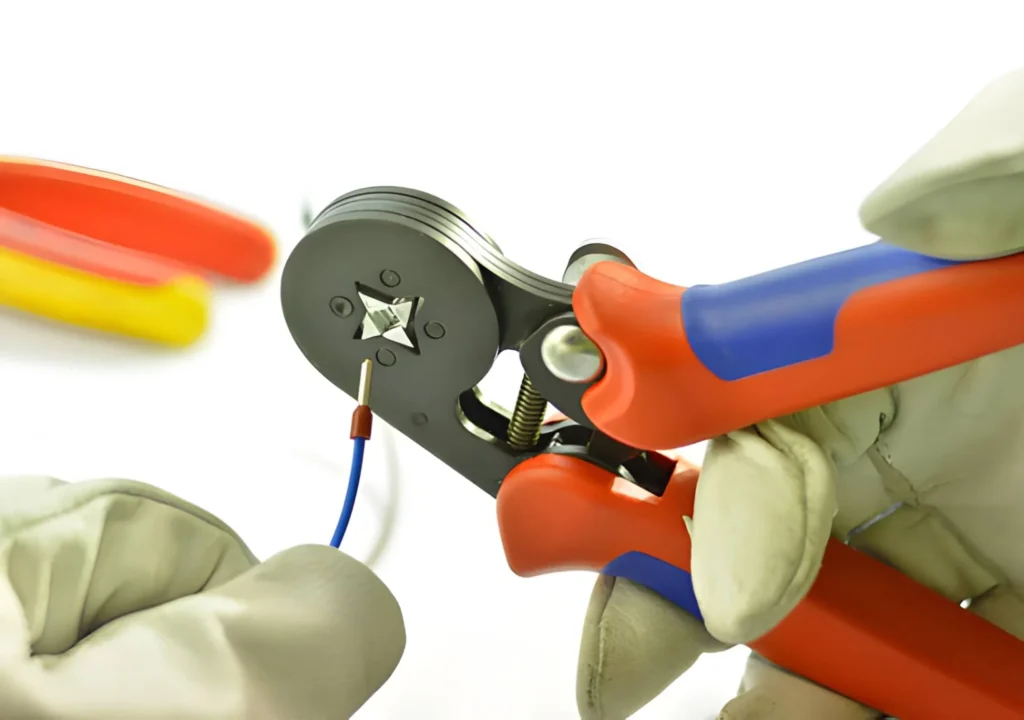
Discover top ferrule crimping tools with ergonomic ratchet design wide AWG range durable steel dies for precise secure wire connections.
Read More
Discover the best Dupont crimper 2.54mm for precise DIY electronics with ratcheting mechanism and versatile AWG 18-28 wire compatibility.
Read More
Discover the key differences between dupont crimper and jst crimper tools plus expert tips for choosing the best crimper for reliable electronic connections
Read More