Blog
How to Use Wire Crimpers Step by Step Guide with JiaPaiMi Tools
Learn how to use wire crimpers with step-by-step tips for secure electrical connections using ratcheting crimpers and quality connectors.
Read More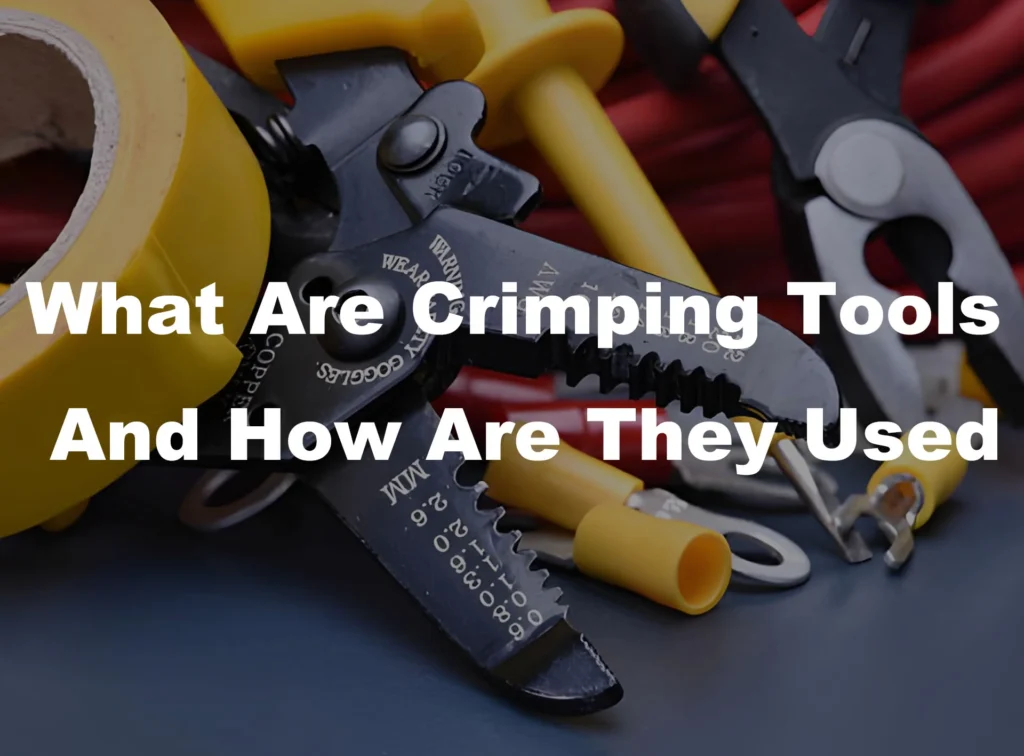
If you want to join cables and connectors safely, you need to understand crimping first.
Crimping joins connectors and cables by compressing metal parts together to create a secure, long-lasting electrical bond.
In this guide, you will learn what crimping is and which type of crimping tools you need to get your job done.
Crimping joins metal or flexible materials by pressing and reshaping one or both pieces to lock them together. The resulting deformation is called the crimp, while the tool that creates it is the crimping tools.
In electrical applications, this joining method connects wires or secures wire to connectors. The metal connectors used—typically called crimp connectors—feature an insulated sleeve attached to a metal contact.
A crimping tool compresses a metal connector around a wire to form a strong bond. This sealed connection prevents moisture and gas from entering, which stops electrical corrosion and connection failures. The result is a solderless link that electricians can form between two wires or at the end of a wire strand.
Beyond electrical work, crimping appears across manufacturing sectors. Engineers and mechanics use this technique on various materials and applications.
To crimp a connection, you need four basics: the wire, a matching connector, a wire stripper, and a crimping tool. Many guides also recommend checking that the connector size matches the wire gauge for a reliable joint.
Follow these steps:
After crimping, pull on the wire and connector to check the joint. A weak crimp that pulls apart during testing should be redone before the connection is installed.
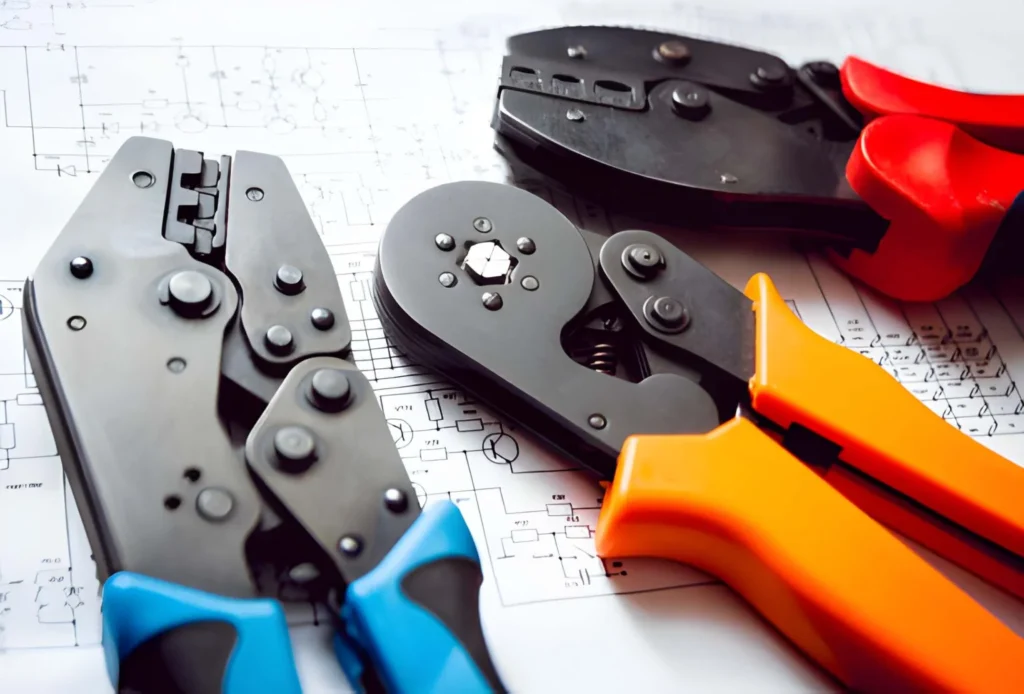
Different applications call for different crimping tools. Each type handles specific connectors and wire sizes.
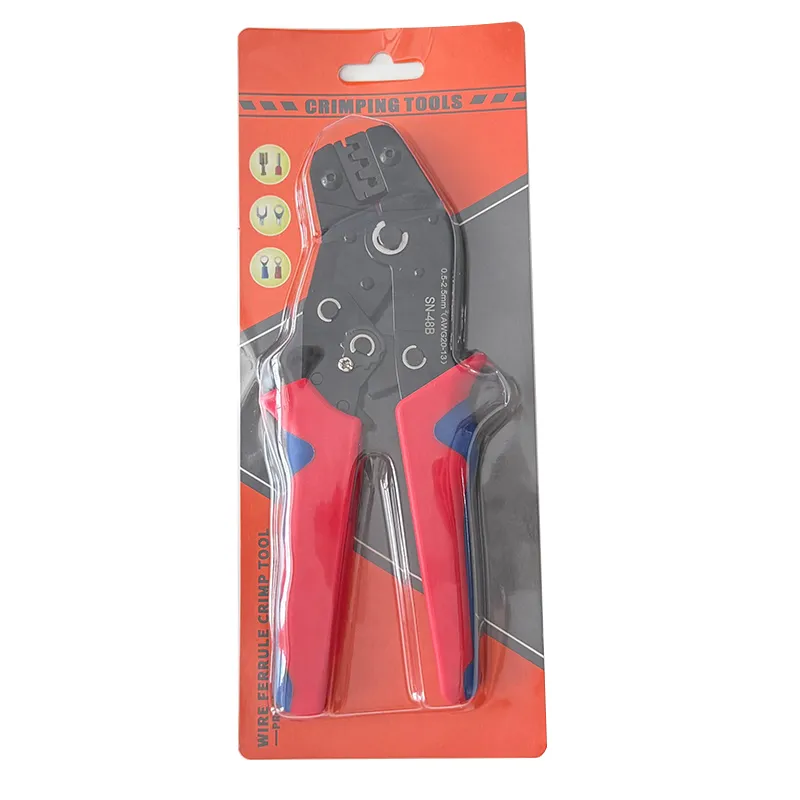
Bootlace ferrules are metal tubes with color-coded insulation sleeves that prevent stranded wire from fraying when inserted into screw terminals. High-leverage versions reduce hand fatigue during repeated use. Plier-style bootlace crimpers accommodate a wider range of wire gauges than single-size models, making them more versatile for general electrical work.
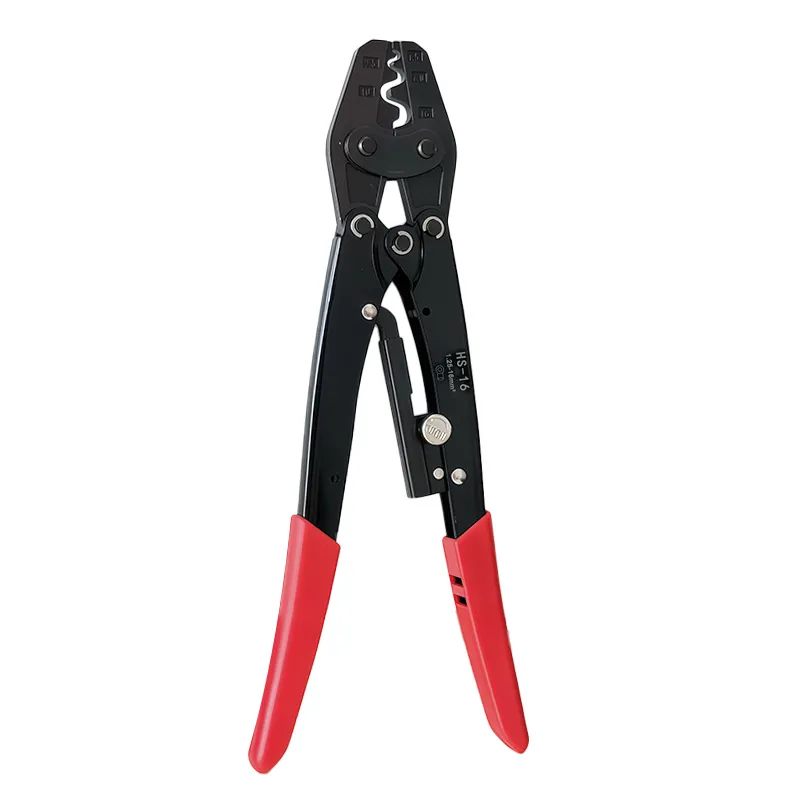
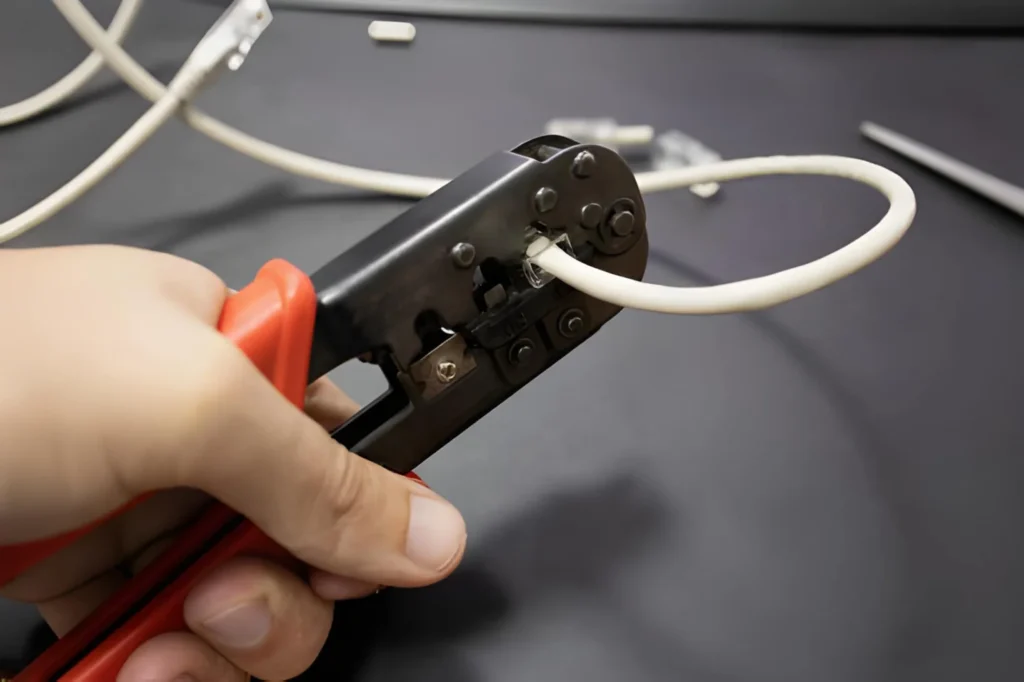
Small-gauge wires leave little room for mistake. Manual hand crimpers can crush or misalign delicate strands. Ratcheting crimpers solve this problem by applying consistent, controlled pressure automatically. The ratchet releases once the correct force is reached, eliminating guesswork and producing uniform results every time.
QM and IP68 connectors work well for mains control leads and compact transmission systems. These specialized tools are sized to handle QM connectors up to 24 AWG and IP68 connectors up to 28 AWG, offering flexibility across different connector standards.
Splice connectors—whether gel-filled or butt-splice types—require dedicated tools. Generic crimpers can damage these connectors or create weak joints. Dedicated splice crimpers feature spring-loaded handles and precise dies matched to specific connector geometries.
Coaxial cables carry high-frequency signals like broadband and television feeds. Their shielded construction makes standard crimping difficult. Tool selection depends on cable impedance: 75 Ω for television and video cables, or 50 Ω for RF and data transmission lines. Using a tool mismatched to your cable’s impedance compromises signal integrity.
Pliers cannot create a proper electrical crimp. While a pair of pliers can crush a connector onto wire, this produces a weak, unreliable connection—not a true cold weld. Regular pliers apply uneven pressure that fails to compress the connector barrel uniformly around the wire strands.
A defective crimp allows air and moisture to penetrate the joint, causing oxidation and electrical resistance that leads to failure. The connection will collapse under the pull test and fail when voltage or vibration stress is applied. Ratcheting crimping tools have engineered dies that apply precise, consistent pressure in the correct geometry, which regular pliers cannot match.
For safe, lasting electrical connections, use a dedicated crimping tool matched to your connector and wire size. The small investment in the right tool prevents connection failures, safety hazards, and wasted time troubleshooting problems later.
JiaPaiMi crimping tools are often the best option for most crimping jobs. They are designed around specific connector types, so each tool matches the size and shape of the crimp for a precise fit.
These tools are engineered and made inchina to deliver strong, repeatable joints. High-leverage handles mean you use less force to achieve a secure crimp, reducing hand fatigue during regular use.
Crimping provides stronger and more reliable connections than soldering for most applications. Solder degrades over time as the filler metal corrodes, especially in environments with vibration, moisture, or temperature extremes.
Crimping creates an airtight seal that protects wires from moisture, dust, and corrosion. When done properly, it forms a “cold weld” where metal surfaces compress together under pressure, resulting in excellent electrical conductivity and mechanical strength.
Crimping is also faster and simpler to perform, especially in difficult locations like ceiling cavities or under floorboards where a soldering iron would be impractical or dangerous. A proper crimp requires no heat, eliminating the risk of damaging insulation or heat-sensitive materials. Additionally, adding solder to a crimp connection actually degrades it by introducing heat that weakens wire strands and can cause joint failure over time.
Removing a crimp is extremely difficult and rarely produces a usable connection. While small screwdrivers or cutting tools can pry or force open a compressed connector, this process damages the metal barrel, making it impossible to achieve a reliable seal on a second crimp.
A re-crimped connector is inherently weak because the metal no longer compresses uniformly around the wire. The deformed barrel allows moisture and air to penetrate, leading to corrosion and eventual failure.
The practical solution is to cut the wire just below the unwanted crimp, strip fresh insulation from the shortened wire, and attach a new connector. If the wire becomes too short for your application, extend it with a splice connector using a fresh piece of wire. This approach is faster and more reliable than attempting to salvage the original crimp.
Crimping tools are essential for creating reliable electrical connections across homes, industries, and manufacturing settings. Understanding the right tool for your application—whether bootlace ferrules, precision tools for thin cables, or coaxial cable crimpers—ensures strong, lasting joints that won’t fail over time. Proper technique, from wire stripping through final inspection, separates professional results from connections that deteriorate under stress or moisture exposure.
Whether you’re working in tight spaces or on routine electrical projects, choosing the correct crimping tool and following best practices protects both your investment and safety. We’re here to help if you have further questions about crimping applications or tool selection.
Learn how to use wire crimpers with step-by-step tips for secure electrical connections using ratcheting crimpers and quality connectors.
Read More
Look inside any control panel, car, boat, or solar system and you will see one thing in common: a lot of wires. Every one of those wires needs a safe, solid connection. That is exactly where wire crimping pliers make a huge difference. For installers and technicians, the right crimping tool means fewer failures and faster jobs. For buyers and tool brands, it means fewer complaints, fewer returns, […]
Read More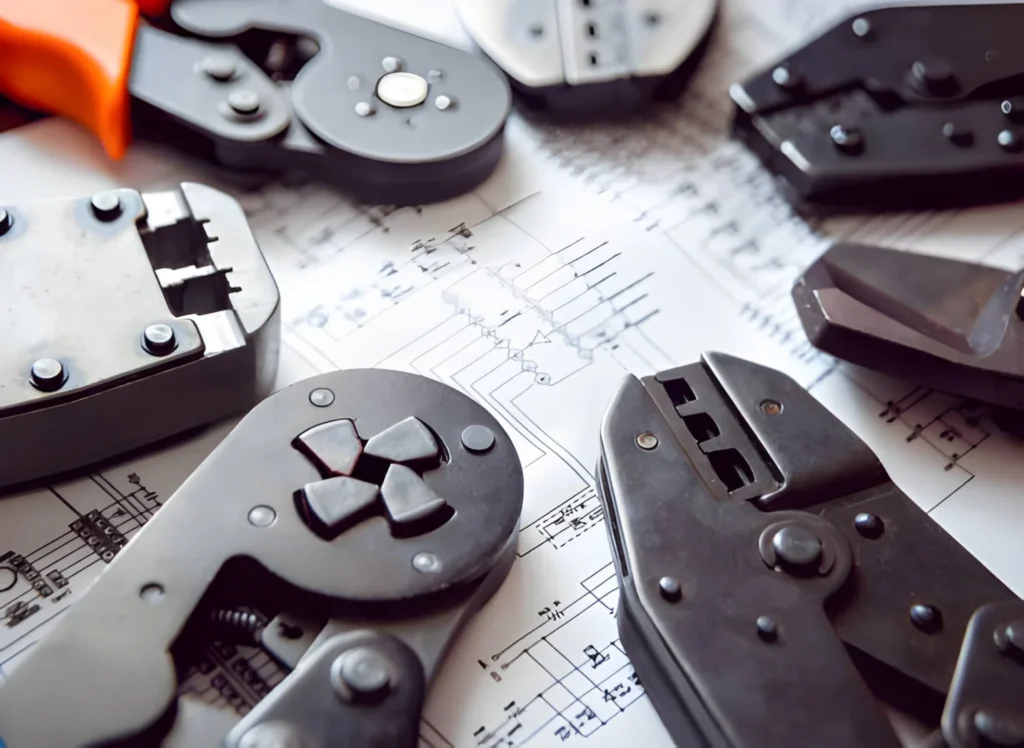
Precision Crimping for Secure Electrical Connections When it comes to reliable electrical work, the JiaPaiMi electrical crimper stands out for its unmatched safety and durability. This tool is engineered to deliver precision crimping that ensures every connection is solid and long-lasting. Whether you’re dealing with insulated or non-insulated terminals, open-barrel or closed-barrel connectors, JiaPaiMi’s design […]
Read More