Poor electrical connections are among the most frustrating problems electricians encounter, and improper crimping tool technique is often the culprit. Whether you’re working with ratchet crimping tools or standard manual crimpers, mastering the correct crimping technique ensures reliable connections that prevent failures, overheating, and safety hazards. Many professionals unknowingly make critical errors during the crimping process that compromise connection quality. Understanding these mistakes and how to avoid them will dramatically improve your wire termination results and reduce callbacks for faulty electrical connections.
Understanding Proper Crimping Tool Technique
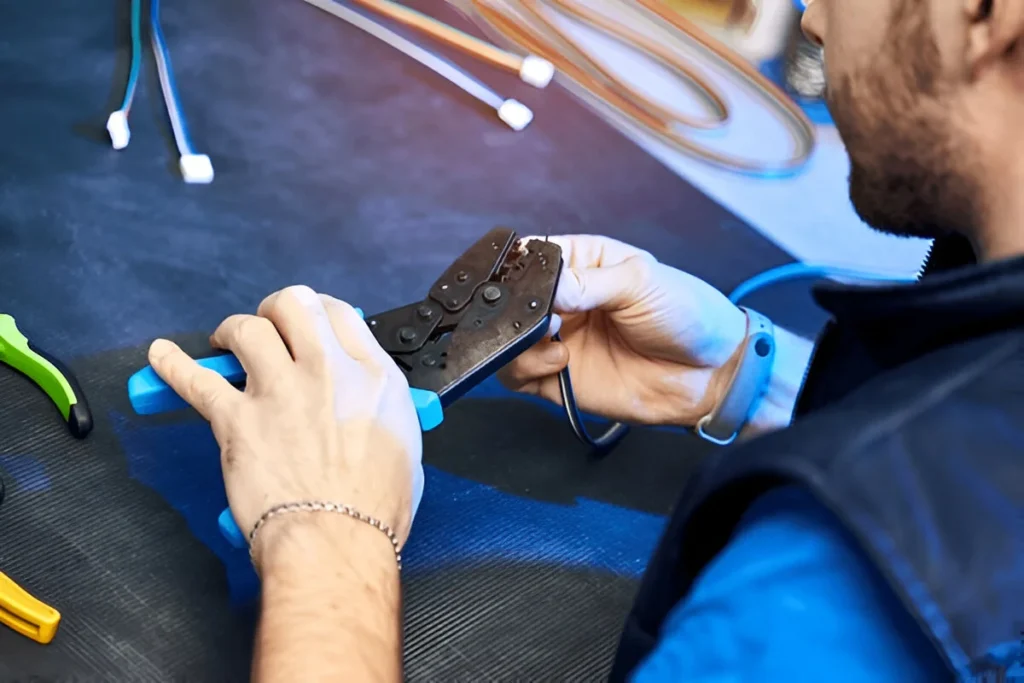
The foundation of quality crimping tool technique lies in three critical factors: selecting the correct tool for your terminal type, matching the wire gauge to the terminal size, and applying consistent pressure throughout the crimp. Professional electricians know that even the best ratchet crimping tool cannot compensate for poor technique. The crimping process creates a cold-weld between the wire and terminal, which requires precise compression to achieve proper electrical conductivity and mechanical strength.
Mistake #1: Using the Wrong Crimping Die Size
One of the most prevalent errors in crimping tool technique is mismatching the die size to the terminal specification. Each terminal size requires a specific die cavity for optimal compression. When you use an oversized die, the terminal receives insufficient compression, resulting in loose connections that can pull apart or create high resistance. Conversely, an undersized die over-compresses the terminal, potentially cutting through wire strands and weakening the connection.
How to Avoid This Error:
Always check the terminal manufacturer’s specifications for recommended die sizes
Use color-coded terminals and matching die cavities when possible
Verify die selection before starting any crimping project
Test crimp quality on sample terminals before committing to production work
Mistake #2: Incomplete Wire Stripping
Improper wire stripping directly impacts crimping technique effectiveness and is responsible for countless connection failures. Stripping too much insulation exposes excessive bare wire that can short against other conductors, while insufficient stripping prevents adequate wire-to-terminal contact. The ideal strip length allows all conductor strands to fully enter the barrel while keeping insulation flush against the terminal entry point.
Best Practices for Wire Stripping:
Strip wire to match the terminal barrel depth exactly
Use calibrated wire strippers rather than knife or cutters
Inspect stripped wire for nicked or broken strands before crimping
For insulated terminals, ensure wire insulation seats properly in the insulation grip area
Reference terminal datasheets for precise strip length specifications
Mistake #3: Failing to Inspect Wire Strands Before Crimping
Professional crimping tool technique always includes pre-crimp inspection of wire strands. Frayed, oxidized, or damaged conductor strands significantly reduce connection quality. When even a few strands are bent back during stripping or fail to enter the terminal barrel, the effective conductor cross-section decreases, increasing resistance and creating potential failure points.
Inspection Checklist:
Verify all strands are straight and parallel
Check for oxidation or discoloration on bare copper
Ensure no stray strands extend beyond the terminal
Twist stranded wire gently to consolidate strands before insertion
Replace any wire showing damage rather than attempting to crimp compromised conductors
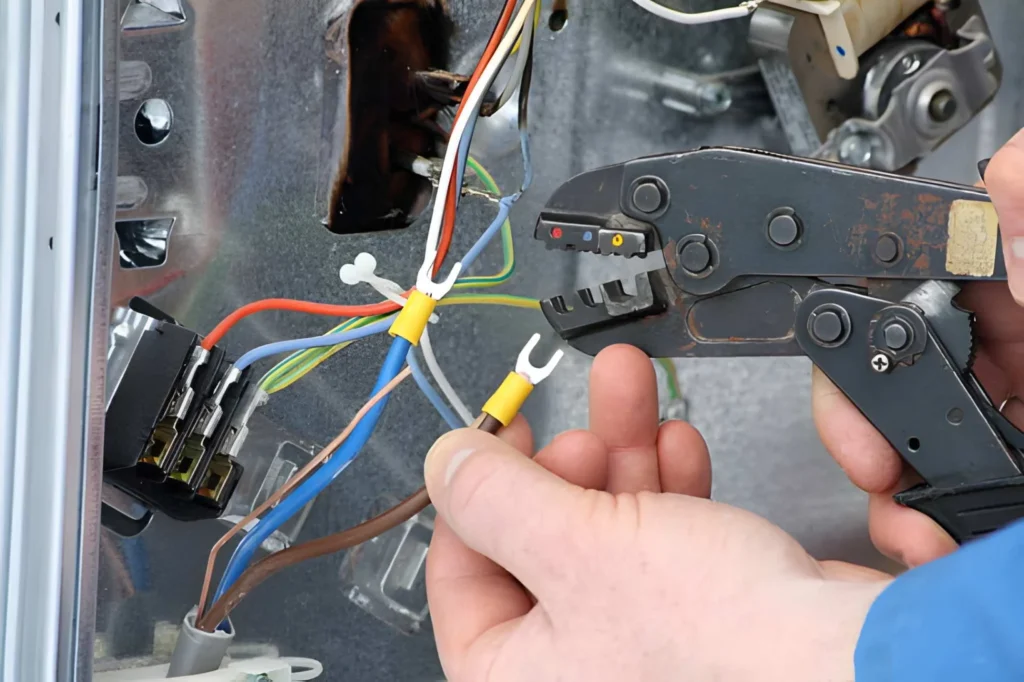
Mistake #4: Incorrect Terminal Positioning in the Die
Poor terminal positioning within the crimping die is a subtle but critical error in crimping technique. The terminal must be centered in the die cavity with the crimp point aligned precisely with the tool’s compression area. Off-center positioning creates uneven compression, resulting in one side of the barrel being over-crimped while the other remains loose. This asymmetric crimp compromises both electrical and mechanical performance.
Proper Positioning Technique:
Insert terminal straight into the die, not at an angle
Ensure the barrel crimp area aligns with the die’s compression point
For insulated terminals, position the insulation grip correctly in the second crimp zone
Develop consistent hand positioning to improve repeatability
Mistake #5: Releasing the Crimp Before Full Ratchet Cycle
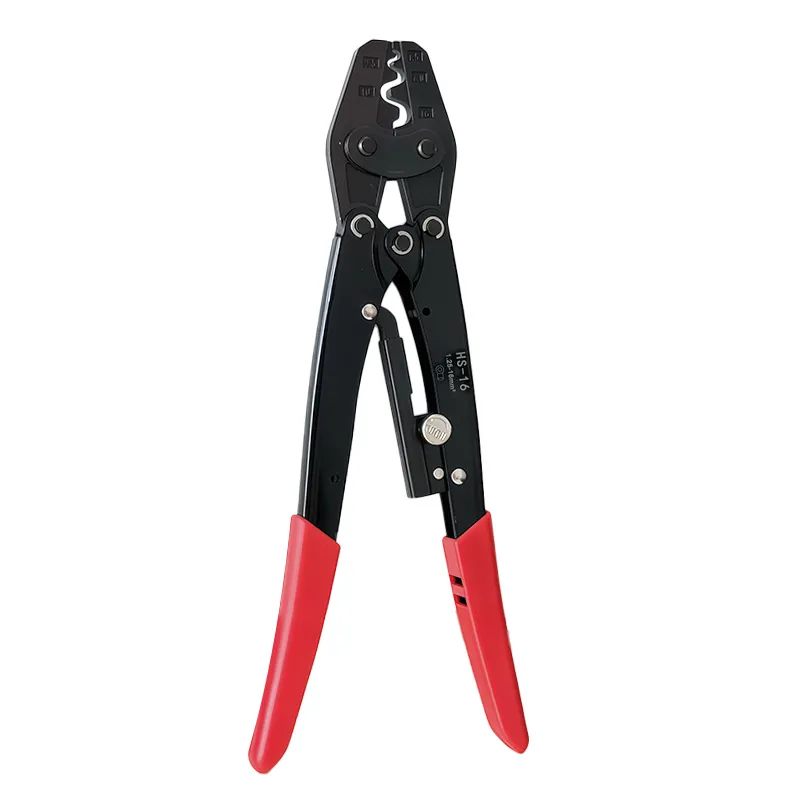
This error is specific to ratchet-type crimpers but represents one of the most common failures in modern crimping tool technique. Ratchet crimpers are designed to complete a full compression cycle before releasing, ensuring consistent crimp quality. Forcing the tool open before the ratchet releases naturally results in incomplete crimps that may appear acceptable but lack proper compression and will fail under stress or vibration.
Ratchet Crimper Best Practices:
Never force the ratchet release mechanism before the cycle completes
If you must abort a crimp, use the emergency release (if equipped) and discard the terminal
Apply steady, continuous pressure until you hear or feel the ratchet release
Maintain your tools by periodically cleaning and lubricating the ratchet mechanism
Verifying Crimp Quality
After mastering proper crimping tool technique, verifying your work is essential. A quality crimp should show even compression around the entire barrel circumference, with the terminal tightly gripping the wire but not cutting through strands. The wire should not pull out under firm tugging, and insulated terminals should show proper compression in both the conductor and insulation crimp zones. For critical applications, consider using a pull tester to verify mechanical strength or a continuity tester to confirm electrical integrity.
Conclusion
Avoiding these five common errors in crimping tool technique will transform your connection quality and reliability. Whether you’re working with insulated terminal crimpers, ferrule crimping tools, or specialized MC4 solar crimpers, the fundamental principles remain consistent: use the correct tool and die size, prepare wires properly, position terminals accurately, and allow ratchet tools to complete their full cycle. Investing time in perfecting your crimping technique pays dividends in reduced failures, improved safety, and professional results.
For deeper understanding of crimping technology industry standards and technical specifications, refer to these authoritative resources:
International Electrotechnical Commission (IEC) – The IEC is the world’s leading organization for preparing and publishing international standards for electrical and electronic technologies. Established in 1906, it brings together over 20,000 experts from 170 countries to develop technical specifications covering crimping connector safety, performance, and testing procedures.
Crimp (Joining) – Wikipedia – Comprehensive Wikipedia article explaining crimping technology, including the working principles and theoretical foundations of how mechanical deformation creates gas-tight cold-welded connections between conductors and terminals. This resource provides technical details and best practices for crimping connections.
American Wire Gauge (AWG) – Wikipedia – The AWG standardized wire gauge system used in North America since 1857. Understanding AWG specifications is critical for correctly selecting crimping die sizes and matching terminal specifications. This encyclopedia page provides complete AWG size charts and calculation formulas.
Crimping is a widely used method for joining electrical wires to connectors or splicing wires without soldering. How to crimp wires is a commonly used method, It’s a simple technique that ensures a solid connection, whether you’re linking two wires or attaching a wire to a connector. The strength of the connection depends on how […]
When you work with wires every day, one small mistake can cause a big problem. Loose joints, overheated cables, or a connection that fails right when the job is finished—no one wants that. That is exactly why electrical crimping pliers are such an important tool in any electrician’s kit. Used well, they give you strong, […]
Have you ever wondered why some wire connections feel rock-solid while others fail at the worst possible moment?In many DIY electronics projects, RC builds, or small manufacturing setups, the answer often comes down to one humble tool: the dupont crimper. It may look simple, but this tool plays a big role in creating clean, secure, […]
We use cookies to enhance your browsing experience, serve personalised ads or content, and analyse our traffic. By clicking "Accept All", you consent to our use of cookies.