Blog
How to Use Wire Crimpers Step by Step Guide with JiaPaiMi Tools
Learn how to use wire crimpers with step-by-step tips for secure electrical connections using ratcheting crimpers and quality connectors.
Read More
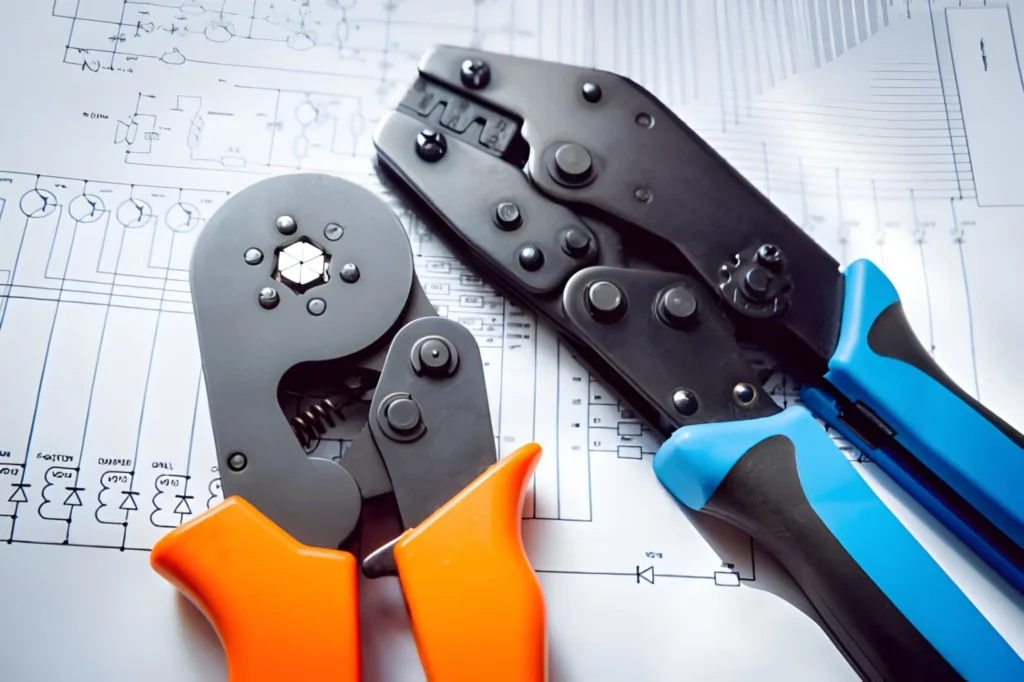
Walk into any control cabinet, and you will see hundreds—sometimes thousands—of ferrules. Yet many shops still treat ferrule crimping tools as an afterthought. That usually shows up later as loose connections, nuisance downtime, or failed inspections.
This post walks through what ferrule crimping tools are, how they actually work, and how you can choose the right ones for your panel shop or production line. The goal is simple: help you buy tools that give repeatable, standards‑compliant crimps and keep your electricians and machines out of trouble.
Along the way, you will see where a cable ferrule crimping tool makes sense, when you need a more advanced wire ferrule crimping tool, and what to watch out for before you send a purchase order.
At the simplest level, ferrule crimping tools are hand or powered tools that compress a metal ferrule sleeve onto the stripped end of a stranded conductor. The result is a solid, gas‑tight connection point that can be clamped reliably in terminal blocks, contactors, and breakers.
Why not just put bare stranded wire into the terminal? In real panels, strands can spread, get cut by the clamping screw, or loosen under vibration. A properly crimped ferrule:
Most ferrule crimping tools work in three basic steps:
Good tools are designed to deliver a consistent crimp height and shape that match tested pull‑out forces and, ideally, standards like IEC 60352 or UL 486.
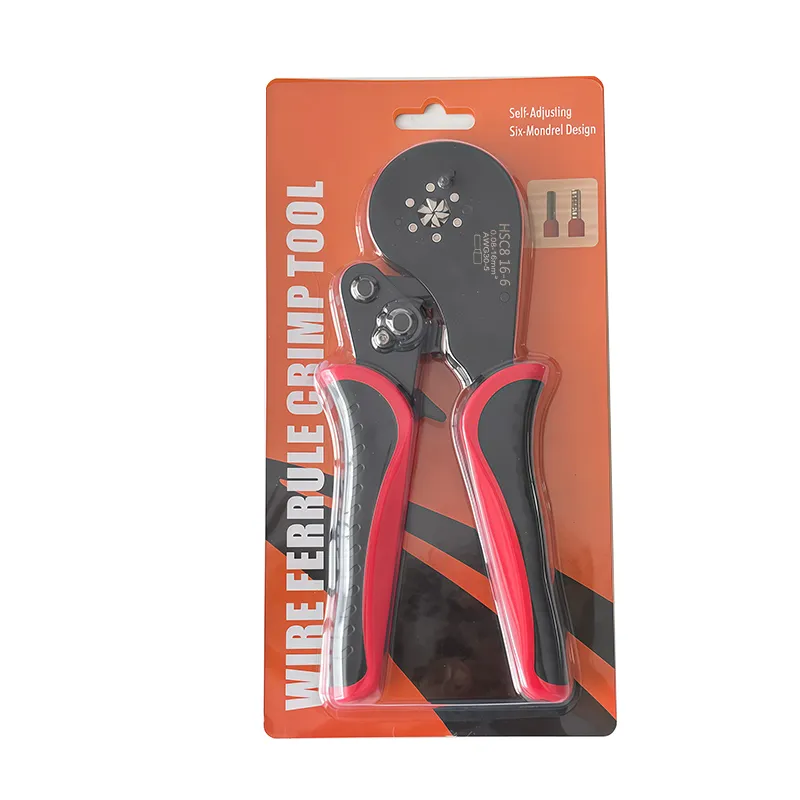
If your teams work in tight panels, even the pivot angle and tool length can affect whether your ferrule system is actually used correctly in the field.
Table 1 – Basic working features
| Feature | Why it matters in daily use |
|---|---|
| Crimp profile shape | Affects pull‑out force and compatibility with blocks |
| Ratchet mechanism | Ensures full crimp cycle and repeatability |
| Capacity range | Defines which wire sizes can be handled |
| Handle ergonomics | Controls fatigue in high‑volume panel building |
Not all ferrule crimping tools are created equal. The “best ferrule crimping tool” for a maintenance cart is not the same as the right tool for a high‑volume panel shop or cable harness line.
You will typically see four main categories.
These are simple pliers with fixed nests or profiles for a defined size range, often marked 0.5–6 mm² or similar. Many have non‑ratcheting designs and require the operator to judge when the crimp is “tight enough.”
They are suitable for:
However, they rely heavily on operator skill. Two technicians can apply different force and produce different crimp quality, which is a problem when you care about repeatability and compliance.
This is where most professional panel builders start. A ratchet mechanism forces the operator to complete the full crimp stroke before the tool can open. That means every ferrule receives the designed compression.
A good wire ferrule crimping tool in this category often includes:
These tools are ideal when you:
When wire sizes get larger, or volumes get high, manual force is not practical. Pneumatic or hydraulic ferrule tools multiply force and reduce operator fatigue.
You typically see them:
They may use foot pedals or triggers, which speeds up production but requires good process controls to avoid mis‑positioned crimps.
At the high end, some systems:
These are capital investments for OEMs, switchgear builders, or harness manufacturers with tens of thousands of terminations per month. If you are at that level, your question is less “Which crimping pliers?” and more “Which line concept and tooling interface will give the throughput and traceability we need?”
Table 2 – Comparing tool types
| Tool type | Typical range | Best for |
|---|---|---|
| Basic manual | 0.5–6 mm² | Low‑volume, maintenance |
| Ratcheting manual | 0.14–10 mm² (typ.) | Daily panel building, consistent quality |
| Pneumatic/hydraulic | 4–70 mm² (typ.) | Large conductors, higher volumes |
| Automatic machines | Configurable ranges | Mass production, OEM harnessing |
If you are planning a new panel line or harness project, this is a good moment to talk with a tooling supplier about which ferrule system matches your cable sizes and standards.
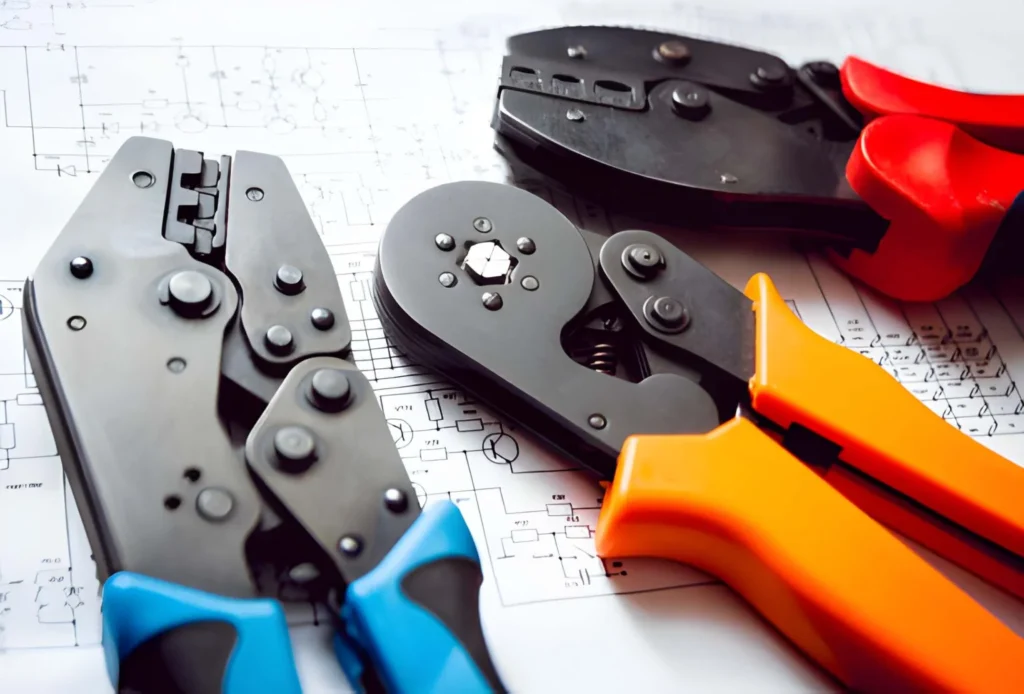
So, how do you decide which ferrule crimping tools are the right fit for your plant? It helps to walk through a few practical questions.
Match the tool to conductor range and standards
Start with the wire sizes your team actually uses. List the most common cross‑sections and types, for example:
Then check:
For example, a cable ferrule crimping tool designed only for coarse‑stranded conductors may not give optimal results on fine‑stranded flexible cables used in drag chains.
Consider crimp profile and terminal types
Have you ever had a ferrule that looked perfect but didn’t seat nicely in the terminal block? That usually comes down to crimp profile shape.
Common profiles:
Before you buy, check:
When ferrules, tools, and terminals are part of a system, you gain some safety margin because the combination has often been tested for pull‑out force and temperature rise.
Ergonomics and productivity
In a drawing, all tools look comfortable. On a 9‑hour shift, some of them are not.
Consider:
Simple details like soft grips, angled heads, and low hand‑force requirements often pay back quickly in productivity and fewer repetitive strain complaints.
Total cost, not just purchase price
It can be tempting to choose the lowest‑priced ferrule tool, especially for a one‑time project. But think about:
A higher‑quality best ferrule crimping tool might cost more upfront, but if it saves 10 minutes of rework per panel, the payback is surprisingly fast in a professional shop.
Table 3 – Key selection criteria
| Criterion | What to check |
|---|---|
| Size range | Matches all common conductor sizes |
| Standards/system | Tested with your ferrules and terminals |
| Profile compatibility | Fits your terminal block types |
| Ergonomics | Acceptable hand force and tool weight |
| Lifecycle cost | Durability, calibration needs, rework risk |
If you are reviewing multiple models, you can always request a small trial batch or sample crimp test before committing to a full tooling rollout.
Even the best tools cannot fix bad habits. Many connection issues come from a few predictable mistakes that show up again and again in audits.
A ferrule that is too large will not compress the strands properly; a ferrule that is too small may not accept all the strands.
Typical problems:
To avoid this:
If strip length is too short, insulation ends up inside the crimp area. If it is too long, you see bare conductor between the ferrule collar and insulation.
Both conditions can reduce mechanical stability and increase corrosion risk.
Practical tips:
Have you ever seen a crimp right across the plastic collar? That ferrule will probably pass a visual test from a distance but fail under load.
The crimp should always be on the metal barrel, not on the plastic collar, and positioned so the entire compressed area is directly over the strands.
A tool designed for a particular ferrule system may still crimp other brands, but pull‑out force and contact area can vary.
When possible:
If you want to standardize your workshop, it often helps to talk with a supplier who can recommend a complete ferrule and tool package instead of buying components separately.
Once you have selected your ferrule crimping tools, the daily practices around them will make the difference between “works” and “really reliable.”
Operational best practices
In industrial environments with oil mist or dust, it helps to clean the crimping head regularly so debris does not affect the crimp profile.
Calibration and inspection
For high‑volume or safety‑critical work:
Some plants implement a “red tag” system: if a technician notices inconsistent crimps, they tag the tool and pull it from service until checked.
Training and standard work
Even a very user‑friendly cable ferrule crimping tool benefits from a 15‑minute training session. Include:
Standardizing these details reduces variation between technicians and shifts and gives purchasing a clear basis when adding new tools or evaluating suppliers.
If you are planning a new project or setting up a production cell, it can be useful to send sample cables and ferrules to a tooling partner and ask for recommended settings and documentation up front.
Ferrule crimping tools may look like simple hand pliers, but in your plant they are actually quality‑critical equipment. The right selection, combined with good habits, ensures every ferrule crimp is reliable, repeatable, and ready for inspection.
By matching tool type to your conductor range, terminals, and production volume, you turn “crimping” from a manual art into a controlled process. Whether you choose a compact cable ferrule crimping tool for maintenance work or invest in the best ferrule crimping tool for your main panel line, the payoff shows up as fewer loose connections, less rework, and smoother audits.
If you are reviewing your current tooling and want a second opinion, feel free to share your typical wire sizes and standards and ask for a short recommendation list.
Looking for a specific ferrule crimping solution for your next project? Send your application details and request a tailored tool and ferrule proposal.
Ready to compare options for your workshop or panel line? Contact our sales team for datasheets, pricing, and sample crimp evaluations.
Technically, many terminal blocks are rated for bare stranded conductors. In practice, using ferrules provides better repeatability and helps reduce issues like loose strands, uneven clamping, and long‑term loosening under vibration.
In control panels with frequent modifications or in machines that travel, ferrules also make it easier to re‑terminate and inspect connections. That is why many OEMs and end‑users now specify ferrules as a standard requirement even where codes do not strictly mandate them.
A general crimper might have profiles for cable lugs, terminals, and sometimes ferrules, but the geometry is usually a compromise. A dedicated wire ferrule crimping tool has profiles specifically designed for ferrule barrels and the target wire range.
This dedicated geometry gives better contact area, predictable pull‑out force, and a crimp shape that fits common terminal blocks. If ferrules are more than an occasional task in your shop, a dedicated tool is almost always the better option.
Quality self‑adjusting tools from reputable brands can produce highly consistent crimps within their specified range and are widely used in professional panel building. Their internal mechanism automatically adapts the die opening to the wire size as long as the conductor and ferrule match the tool’s spec.
The key is not to push them beyond their rated range and to combine them with compatible ferrules. As always, doing a few sample pull‑tests when you introduce a new tool into your process is a smart move.
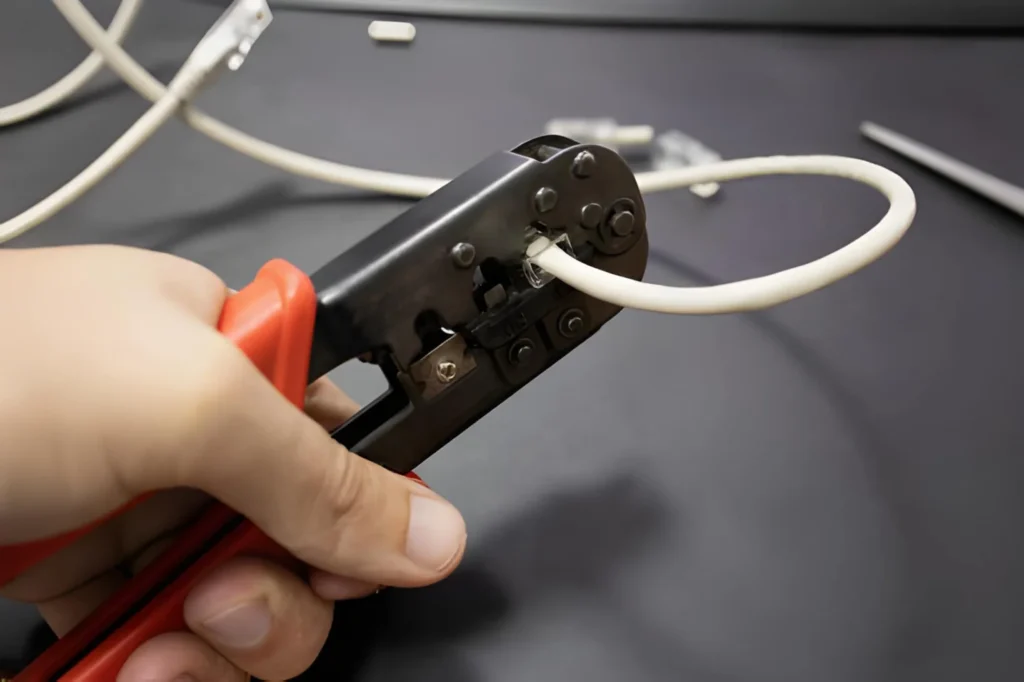
Learn how to use wire crimpers with step-by-step tips for secure electrical connections using ratcheting crimpers and quality connectors.
Read More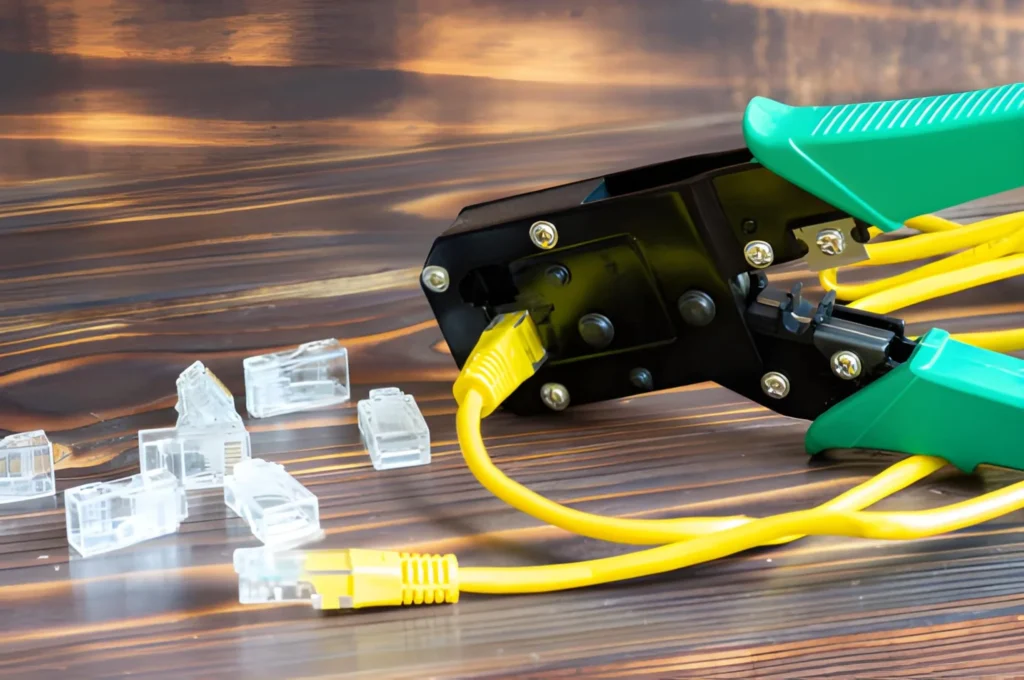
Discover the best Dupont crimper 2.54mm for precise DIY electronics with ratcheting mechanism and versatile AWG 18-28 wire compatibility.
Read More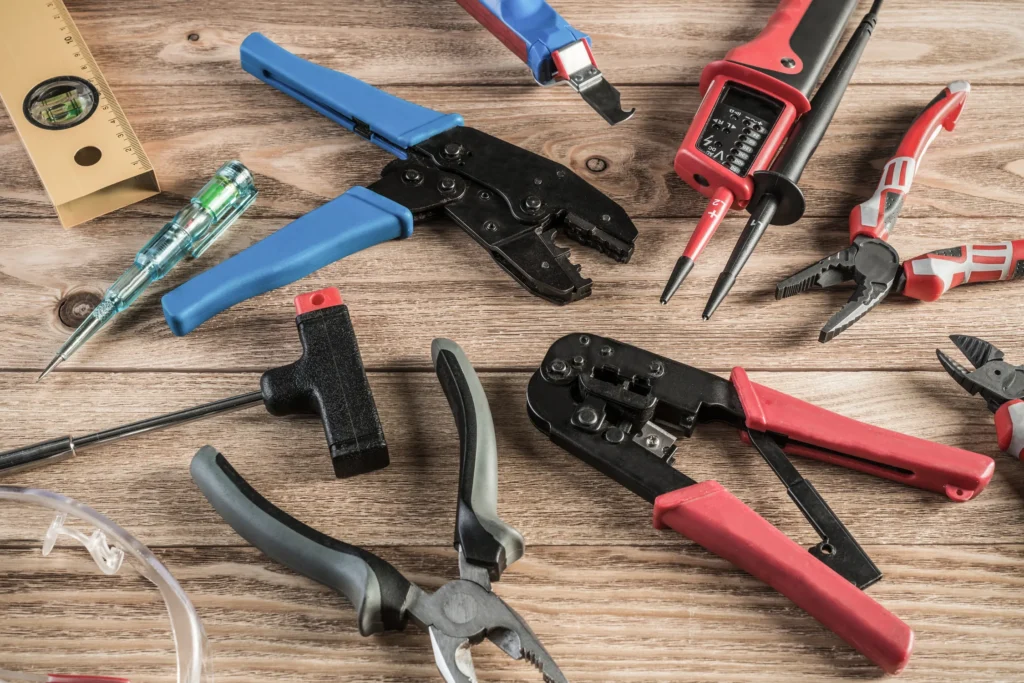
A Hand Crimper Tool is an essential manual device used to securely attach connectors, terminals, or fittings onto wires and cables by compressing them together. This creates reliable electrical and mechanical connections necessary in a wide array of industries. Thanks to its portability, precision, and ease of use, the hand crimper remains a top choice for professionals […]
Read More