Want strong, safe, and long-lasting wire connections?
Then you need more than just good wire and connectors – you need the right crimping tool and a bit of know-how.
In this guide, you’ll learn what crimping pliers are, how they work, the different types on the market, and how to choose the best one for your jobs. Whether you are an electrician, an automotive technician, a network installer, or a DIY enthusiast who loves neat wiring, this article will walk you through everything step by step.
You will also see common mistakes to avoid, simple maintenance tips, and clear answers to popular questions like:
Do I really need ratcheting crimping pliers?
Can one tool handle both insulated and non-insulated terminals?
If you are sourcing tools for a team, a workshop, or for resale, feel free to reach out to your preferred supplier or send an inquiry while you read – better tools really do mean fewer failures and returns.
What Are Crimping Pliers?
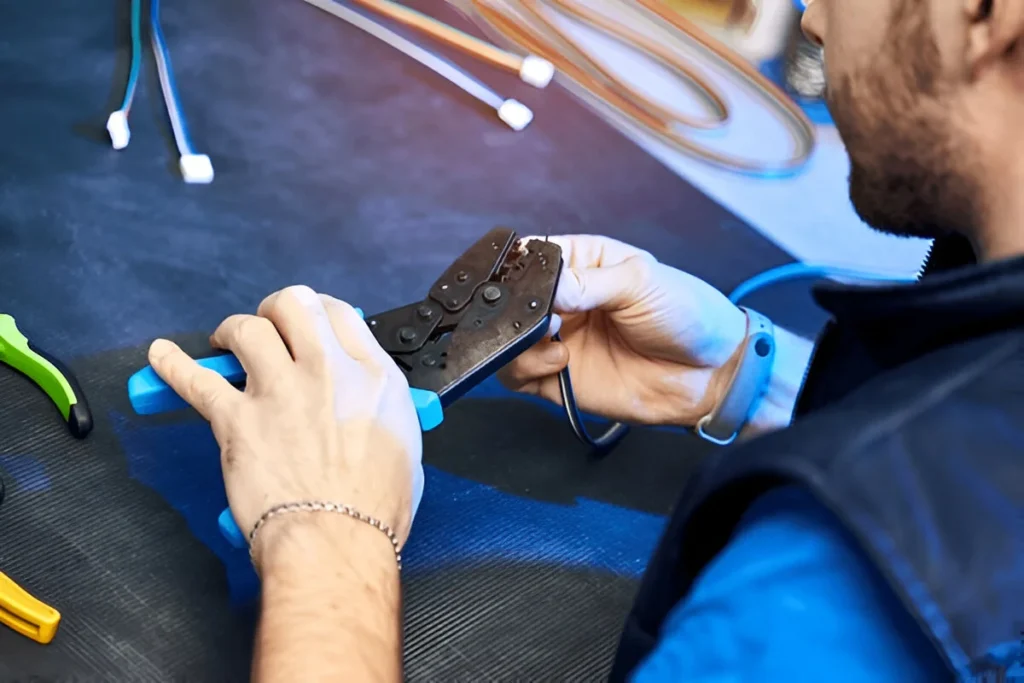
Crimping pliers are hand tools used to join a connector to a wire by deforming (crimping) the metal so it tightly grips the conductor. Instead of soldering, you use mechanical pressure to form a strong electrical and mechanical bond.
The basic idea is simple:
You place the wire and terminal in the correct jaw, squeeze the handles, and the tool compresses the connector. When done correctly, the wire strands and the connector become one tight, vibration-resistant unit.
Crimped connections are widely used because they are:
Fast – perfect for repetitive work and production.
Consistent – a good tool makes each crimp almost identical.
Safe – reduced risk of loose wires, overheating, or arcing.
From automotive battery terminals to tiny signal wires in control panels, this tool quietly supports almost every modern industry that uses electricity.
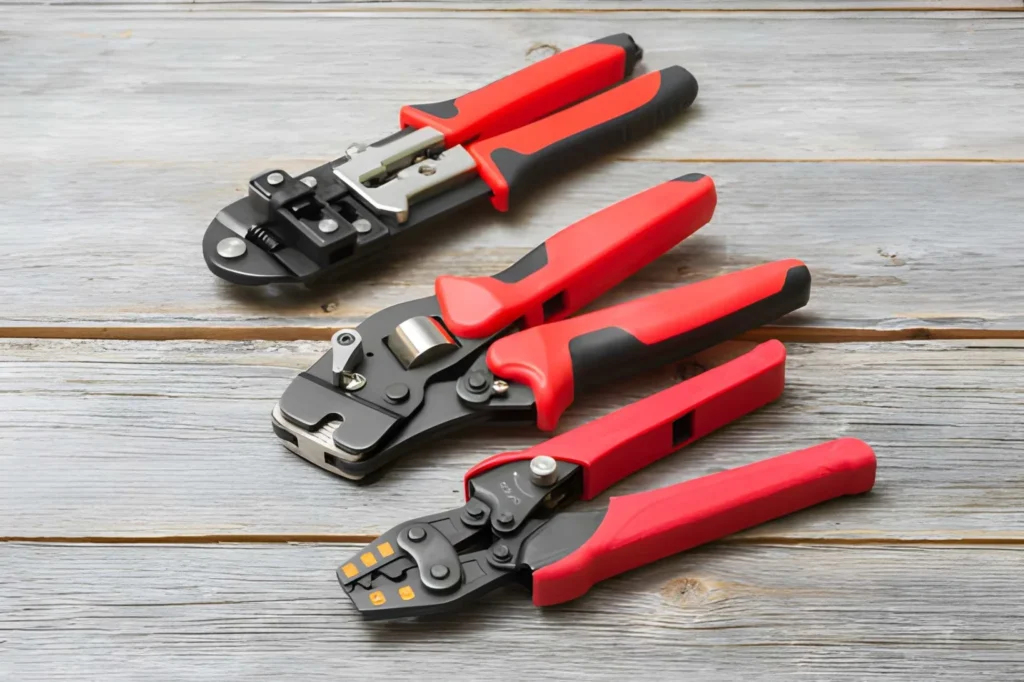
Main Types of Crimping Tools
Not all crimp tools are the same. Choosing the right style will make your work easier, safer, and faster. Let’s look at some of the most common types you will see on the market.
1. Basic manual crimpers
These are simple pliers with fixed crimping nests for a few common sizes. They are often used for small electrical jobs, home repairs, and light workshop tasks. They are affordable and easy to carry, but require more hand force and a bit of skill to get the pressure just right.
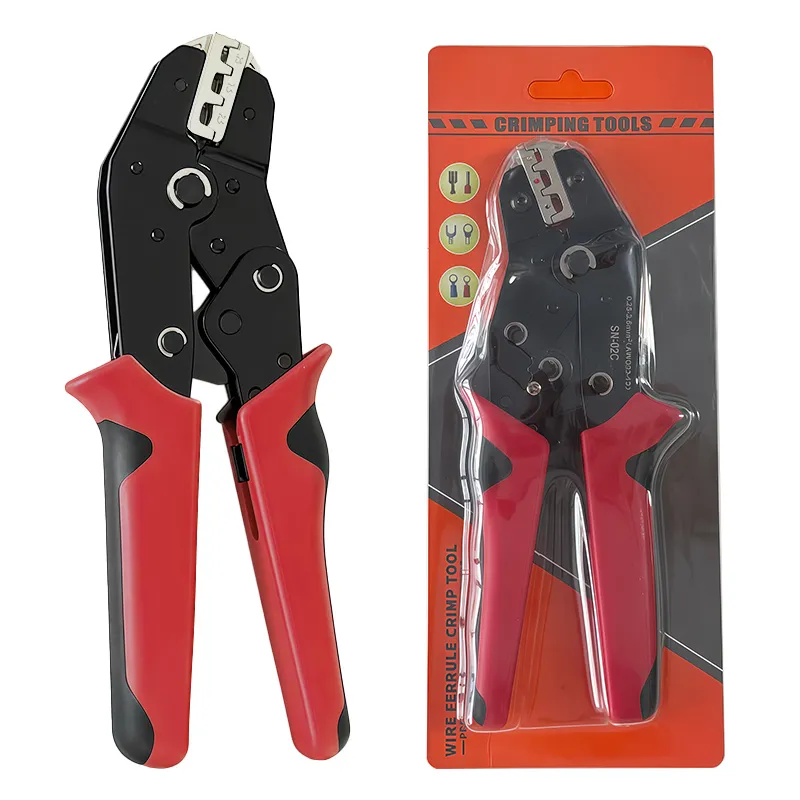
These tools have a ratchet mechanism that only releases when enough force has been applied. That means more consistent crimps and less strain on your hands.
Many professionals prefer ratcheting tools for insulated and non-insulated terminals, ferrules, and small connectors because:
You get uniform quality.
You reduce the chance of under-crimping.
You can work longer with less fatigue.
3. Ferrule crimping tools
These are designed for crimping wire ferrules (end sleeves) onto fine-stranded conductors. They often use square, hexagonal, or trapezoidal profiles to compact the strands neatly. Ferrules are popular in control cabinets, machinery, and any installation where wires are inserted into screw terminals.
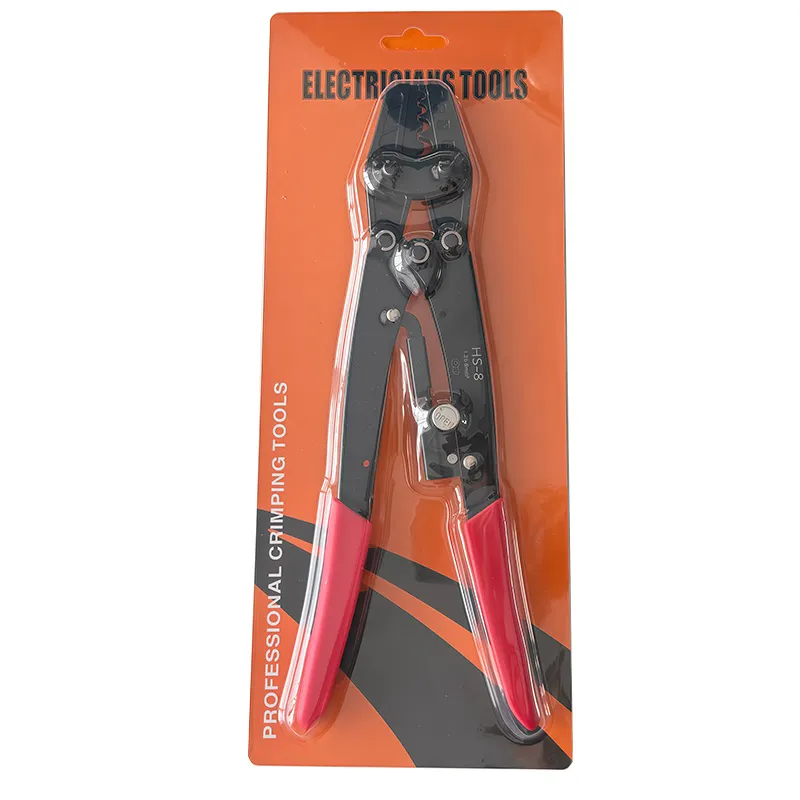
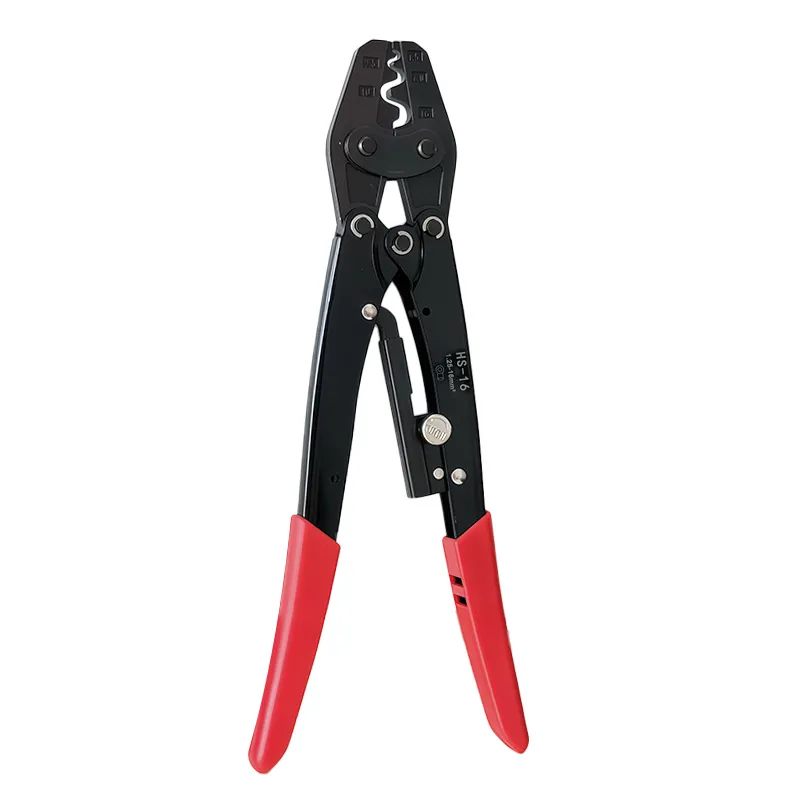
4. Heavy-duty or hydraulic crimpers
For large cable lugs, battery cables, solar installations, or industrial power distribution, you need more force. Heavy-duty crimpers may have long handles or hydraulic assistance to handle big cross-sections safely and repeatably.
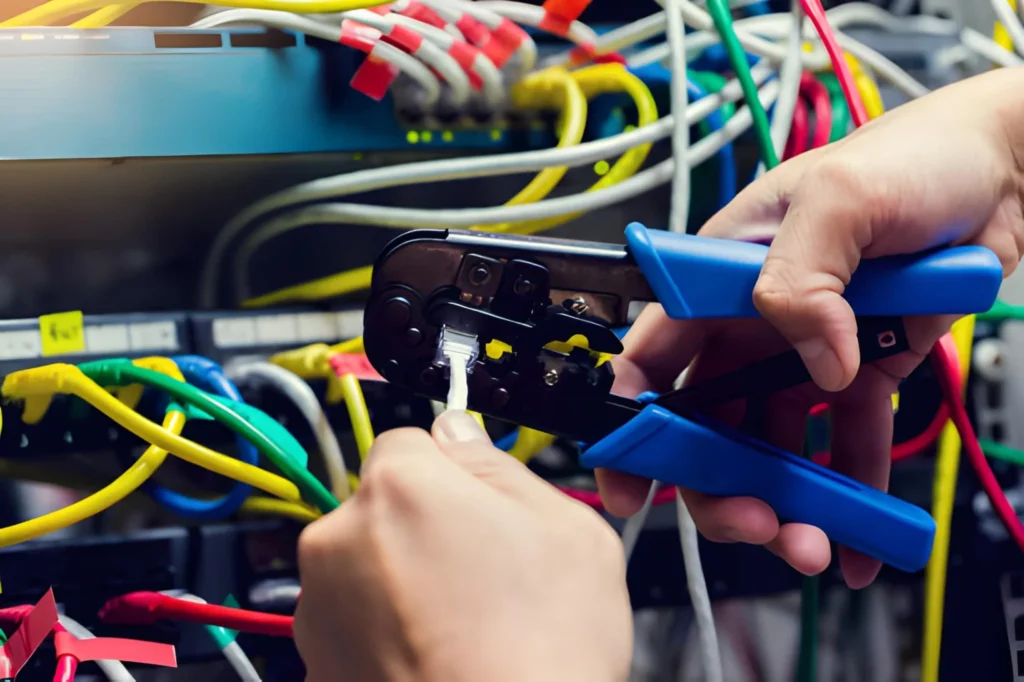
5. Specialty network and telecom crimpers
These are tailored for modular plugs like RJ11, RJ12, and RJ45. They can strip, cut, and crimp connectors for phone lines and network cables in a single compact tool.
To make the differences clearer, here is a simple comparison:
Tool type
Typical use case
Wire size range (approx.)
Ideal user
Basic manual crimper
Home and light electrical work
Small to medium
DIY users, light maintenance
Ratcheting crimping pliers
Regular terminal work, ferrules
Small to medium
Electricians, panel builders
Ferrule crimping tool
Control panels, machinery wiring
Fine-stranded small wires
Control engineers, panel shops
Heavy-duty / hydraulic crimper
Power cables, battery cables, lugs
Medium to large
Auto, solar, industrial installers
Network/telecom crimper
Ethernet and phone cable connectors
Data cables
IT technicians, network installers
How to Choose the Right Crimp Tool
Picking the right tool can feel confusing at first. But once you know what to look for, the choice becomes much easier.
Here are the key points to consider:
Wire size (gauge or cross-section)
Always match the tool to the wire size range you use. If the crimp nest is too large, the connection will be loose. If it is too small, you can damage the wire or connector.
Connector type
Are you working with:
Insulated terminals (red, blue, yellow sleeves)?
Non-insulated open-barrel terminals?
Ferrules?
Battery lugs or cable lugs?
Network or telecom plugs?
Each style has its own preferred crimp profile and often its own dedicated tool.
Insulated vs non-insulated terminals
Some tools are optimized for insulated terminals and have jaws that support the plastic sleeve. Others are designed for bare metal connectors. Using the wrong tool can crack insulation or produce weak crimps.
Ratcheting vs non-ratcheting
Ratcheting tools cost more, but they give better consistency and require less technique. For regular professional use, they are usually the smarter investment.
Ergonomics and handle design
If you crimp all day, comfort matters. Look for:
Soft, non-slip handles
A handle length that suits your hand size
Smooth ratchet operation
Quality and standards
For industrial or OEM work, check whether the tool and terminals match any required standards or test approvals such as UL, IEC, or TUV. Some customers demand this level of validation.
A quick decision guide:
Situation
Recommended tool type
Daily electrical panel work
Ratcheting crimping pliers
Fine-stranded control wires into terminals
Ferrule crimping tool
Large battery or power cables
Heavy-duty or hydraulic crimper
Occasional home wiring and repairs
Basic manual crimper
Network cable installation
Network/telecom crimper
If you are buying for your business or workshop and want help choosing, it is smart to contact a specialist supplier with your typical wire sizes and connector types. Many will suggest a small kit or bundle tailored to your jobs.
Step-by-Step: How to Use Crimping Pliers
Using the tool is not difficult, but there is a right way to do it. Follow these steps for safe, strong connections.
Strip the wire correctly. Remove just enough insulation so that the bare conductor fills the metal barrel of the connector. Do not nick or cut the strands.
Insert the wire into the terminal. Make sure all strands go inside, and the insulation reaches up to the end of the barrel without gaps.
Place the connector in the correct crimp nest. Match the color, size marking, or AWG/mm² marking on the tool to the terminal you are using. With open-barrel terminals, position the wings correctly.
Align the tool carefully. The crimp point should be over the barrel of the connector, not on the seam or the insulation (unless the design calls for an insulation support crimp).
Squeeze the handles fully. With ratcheting crimping pliers, keep squeezing until the ratchet releases. With manual tools, squeeze firmly until you feel solid resistance.
Inspect the finished crimp. Check that the barrel is fully compressed, the wire does not pull out when tugged gently, and the insulation is not damaged.
Optional: Perform a pull test. For critical connections, perform a simple pull test or follow any test procedure required by your quality system.
Take your time when you first learn. After a few tries, your hands will remember the process and you will work much faster.
Common Crimping Mistakes and How to Avoid Them
Even experienced technicians sometimes fall into bad habits. Here are some of the most common mistakes and simple ways to avoid them.
Using the wrong tool or die size
Trying to crimp a large terminal with a tool designed only for small connectors leads to poor compression. Always check the size markings both on the tool and on the connector packaging.
Under-crimping
If you stop squeezing too early or use a worn tool, the barrel will not grip the wire firmly. The result is a connection that may pass initial tests but fail later due to vibration or heating. Ratcheting tools help reduce this risk.
Over-crimping
Too much force can damage the wire strands or crack the connector. This is more common with very soft or thin connectors. Use tools matched to the connector type and follow the manufacturer’s guidance.
Crimping on damaged or dirty wire
Corroded, dirty, or previously twisted wire cannot form a reliable joint. Always cut back to clean copper and strip fresh insulation before crimping.
Mixing unmatched tools and terminals
Budget tools may not match the geometry of certain high-spec connectors. For critical work, use tools and terminals that are designed and tested together.
By training staff and standardizing on a set of quality tools and connectors, companies can reduce rework and warranty issues dramatically.
Care, Maintenance, and Storage Tips
Good crimping tools can last for years if you take care of them. Poorly maintained tools, on the other hand, produce inconsistent crimps and can even damage connectors.
Here are some simple practices:
Keep the jaws clean and free of adhesive, dirt, and metal particles.
Wipe the tool occasionally with a light oil to prevent rust.
Do not use the tool as a hammer, pry bar, or general-purpose plier.
Store in a dry place, ideally in a case or toolbox so the jaws are protected.
For ratcheting tools, check the ratchet function from time to time and adjust if the manufacturer provides a setting.
In larger workshops, it is common to assign tools and schedule periodic checks or calibration, especially where quality standards require documented control.
If you are buying tools for production, ask your supplier about maintenance guidance and spare parts to keep your line running smoothly.
Where Are Crimp Tools Used? Key Applications
These tools show up almost everywhere electricity or data is involved. Some common areas include:
Electrical installation and control panels
Electricians and panel builders use them daily for terminals, splices, and ferrules in distribution boards, machine control cabinets, and building wiring.
Automotive and transportation
From cars and trucks to boats and agricultural machinery, crimped connections are essential for lights, sensors, starter motors, and control systems. Battery cable crimping, in particular, demands robust tools.
Renewable energy and power systems
Solar installers and energy contractors use heavy-duty tools for PV cables, grounding systems, and power distribution.
Networking and telecom
Network technicians rely on specialized tools for modular plugs and structured cabling systems.
DIY, hobby, and repair
Makers, model builders, and home users use simple tools for small projects, repairs, and upgrades.
Because so many industries depend on reliable connections, there is steady demand for durable crimping tools. If you supply tools or components, offering a complete range of compatible crimpers and terminals can be a strong advantage.
Conclusion: Better Tools, Better Connections
Strong, safe wiring does not happen by accident.
It depends on the right connectors, good technique, and well-chosen crimping tools that match your work.
You have seen how different tool types serve different jobs, how to select the right option based on wire size and connector type, and how small details—like consistent pressure and proper maintenance—make a big difference over time. With the right setup, you can work faster, avoid rework, and reduce the risk of electrical failures.
If you are upgrading your toolbox, equipping a new workshop, or sourcing tools for resale, now is a great time to review your current crimping tools and fill any gaps. Look for durable, ergonomic models, match them to your terminals and wire sizes, and do not hesitate to contact a professional supplier for advice or a quotation.
Good crimping pliers may be a small part of your toolkit, but they are a big part of your safety, reliability, and reputation.
FAQ About Crimping Pliers
Can one tool handle both insulated and non-insulated terminals?
Some tools can work with both, but many are optimized for one type. Insulated terminals often need support for the plastic sleeve, while non-insulated versions require a different crimp profile. For best results, use tools designed or approved for the connector style you use most.
Are ratcheting crimping pliers really worth the extra cost?
For light, occasional use, a basic tool may be enough. But if you crimp regularly, a ratcheting model usually pays for itself quickly. You get consistent pressure, fewer failed crimps, and less fatigue, which is especially important in professional and production environments.
What is a ferrule crimping tool and why is it important?
A ferrule crimping tool is designed to compress small metal sleeves (ferrules) onto fine-stranded wires. This keeps the strands together and improves the connection in clamp terminals. In control panels and machinery, ferrules are often required by standards or company rules because they prevent loose strands and make wiring more reliable.
Can I use one crimp tool for different wire sizes?
Yes, as long as the tool covers the wire size range you need and has the appropriate nests or interchangeable dies. Always follow the size markings on the jaws. Trying to cover sizes outside the tool’s rated range will cause weak or damaged connections.
How do I know if my crimp is strong enough?
After crimping, give the wire a firm but controlled pull. It should not slip out of the connector. The barrel should look fully compressed, and there should be no exposed broken strands. For critical applications, follow any specified pull-test values from your quality system or the connector manufacturer.
When should I choose heavy-duty crimpers or hydraulic tools?
Use heavy-duty or hydraulic tools when working with large cables, such as battery leads, power distribution cables, or thick grounding conductors. These cables need much more force, and using a small hand tool is not safe or effective.
I need tools for a team. How should I plan my purchase?
First, list your common wire sizes, connector types, and daily crimping volume. Then choose a mix of tools (for example, ratcheting terminal crimpers, ferrule tools, and one or two heavy-duty units) that cover all tasks. Many suppliers offer bulk pricing or kits designed for electricians, automotive workshops, or panel builders—if you are not sure, send an inquiry and ask for a tailored recommendation.
Key Features & Benefits The JiaPaiMi Dupont connector crimping tool offers precision and reliability for every DIYer and maker. Its precision ratcheting mechanism guarantees consistent, secure crimps every time, eliminating guesswork. Feature Benefit Precision ratcheting mechanism Ensures gas-tight, uniform crimps Ergonomic non-slip handles Comfortable grip, less hand fatigue with quick-release Multi-profile die sets Perfect for […]
Crimping is a widely used method for joining electrical wires to connectors or splicing wires without soldering. How to crimp wires is a commonly used method, It’s a simple technique that ensures a solid connection, whether you’re linking two wires or attaching a wire to a connector. The strength of the connection depends on how […]
If you work with electrical wires, cables, or connectors, a pliers crimping tool quickly becomes your best friend. It looks simple. It feels familiar in your hand. But when used correctly, it can turn loose, unreliable connections into strong, safe, and professional results. In this guide, you will learn what a pliers crimping tool is, […]
We use cookies to enhance your browsing experience, serve personalised ads or content, and analyse our traffic. By clicking "Accept All", you consent to our use of cookies.